Infisical supports the use of API Tokens to connect with Bitbucket.
Infisical recommends creating a dedicated Bitbucket account with access restricted to only the resources your use case requires.
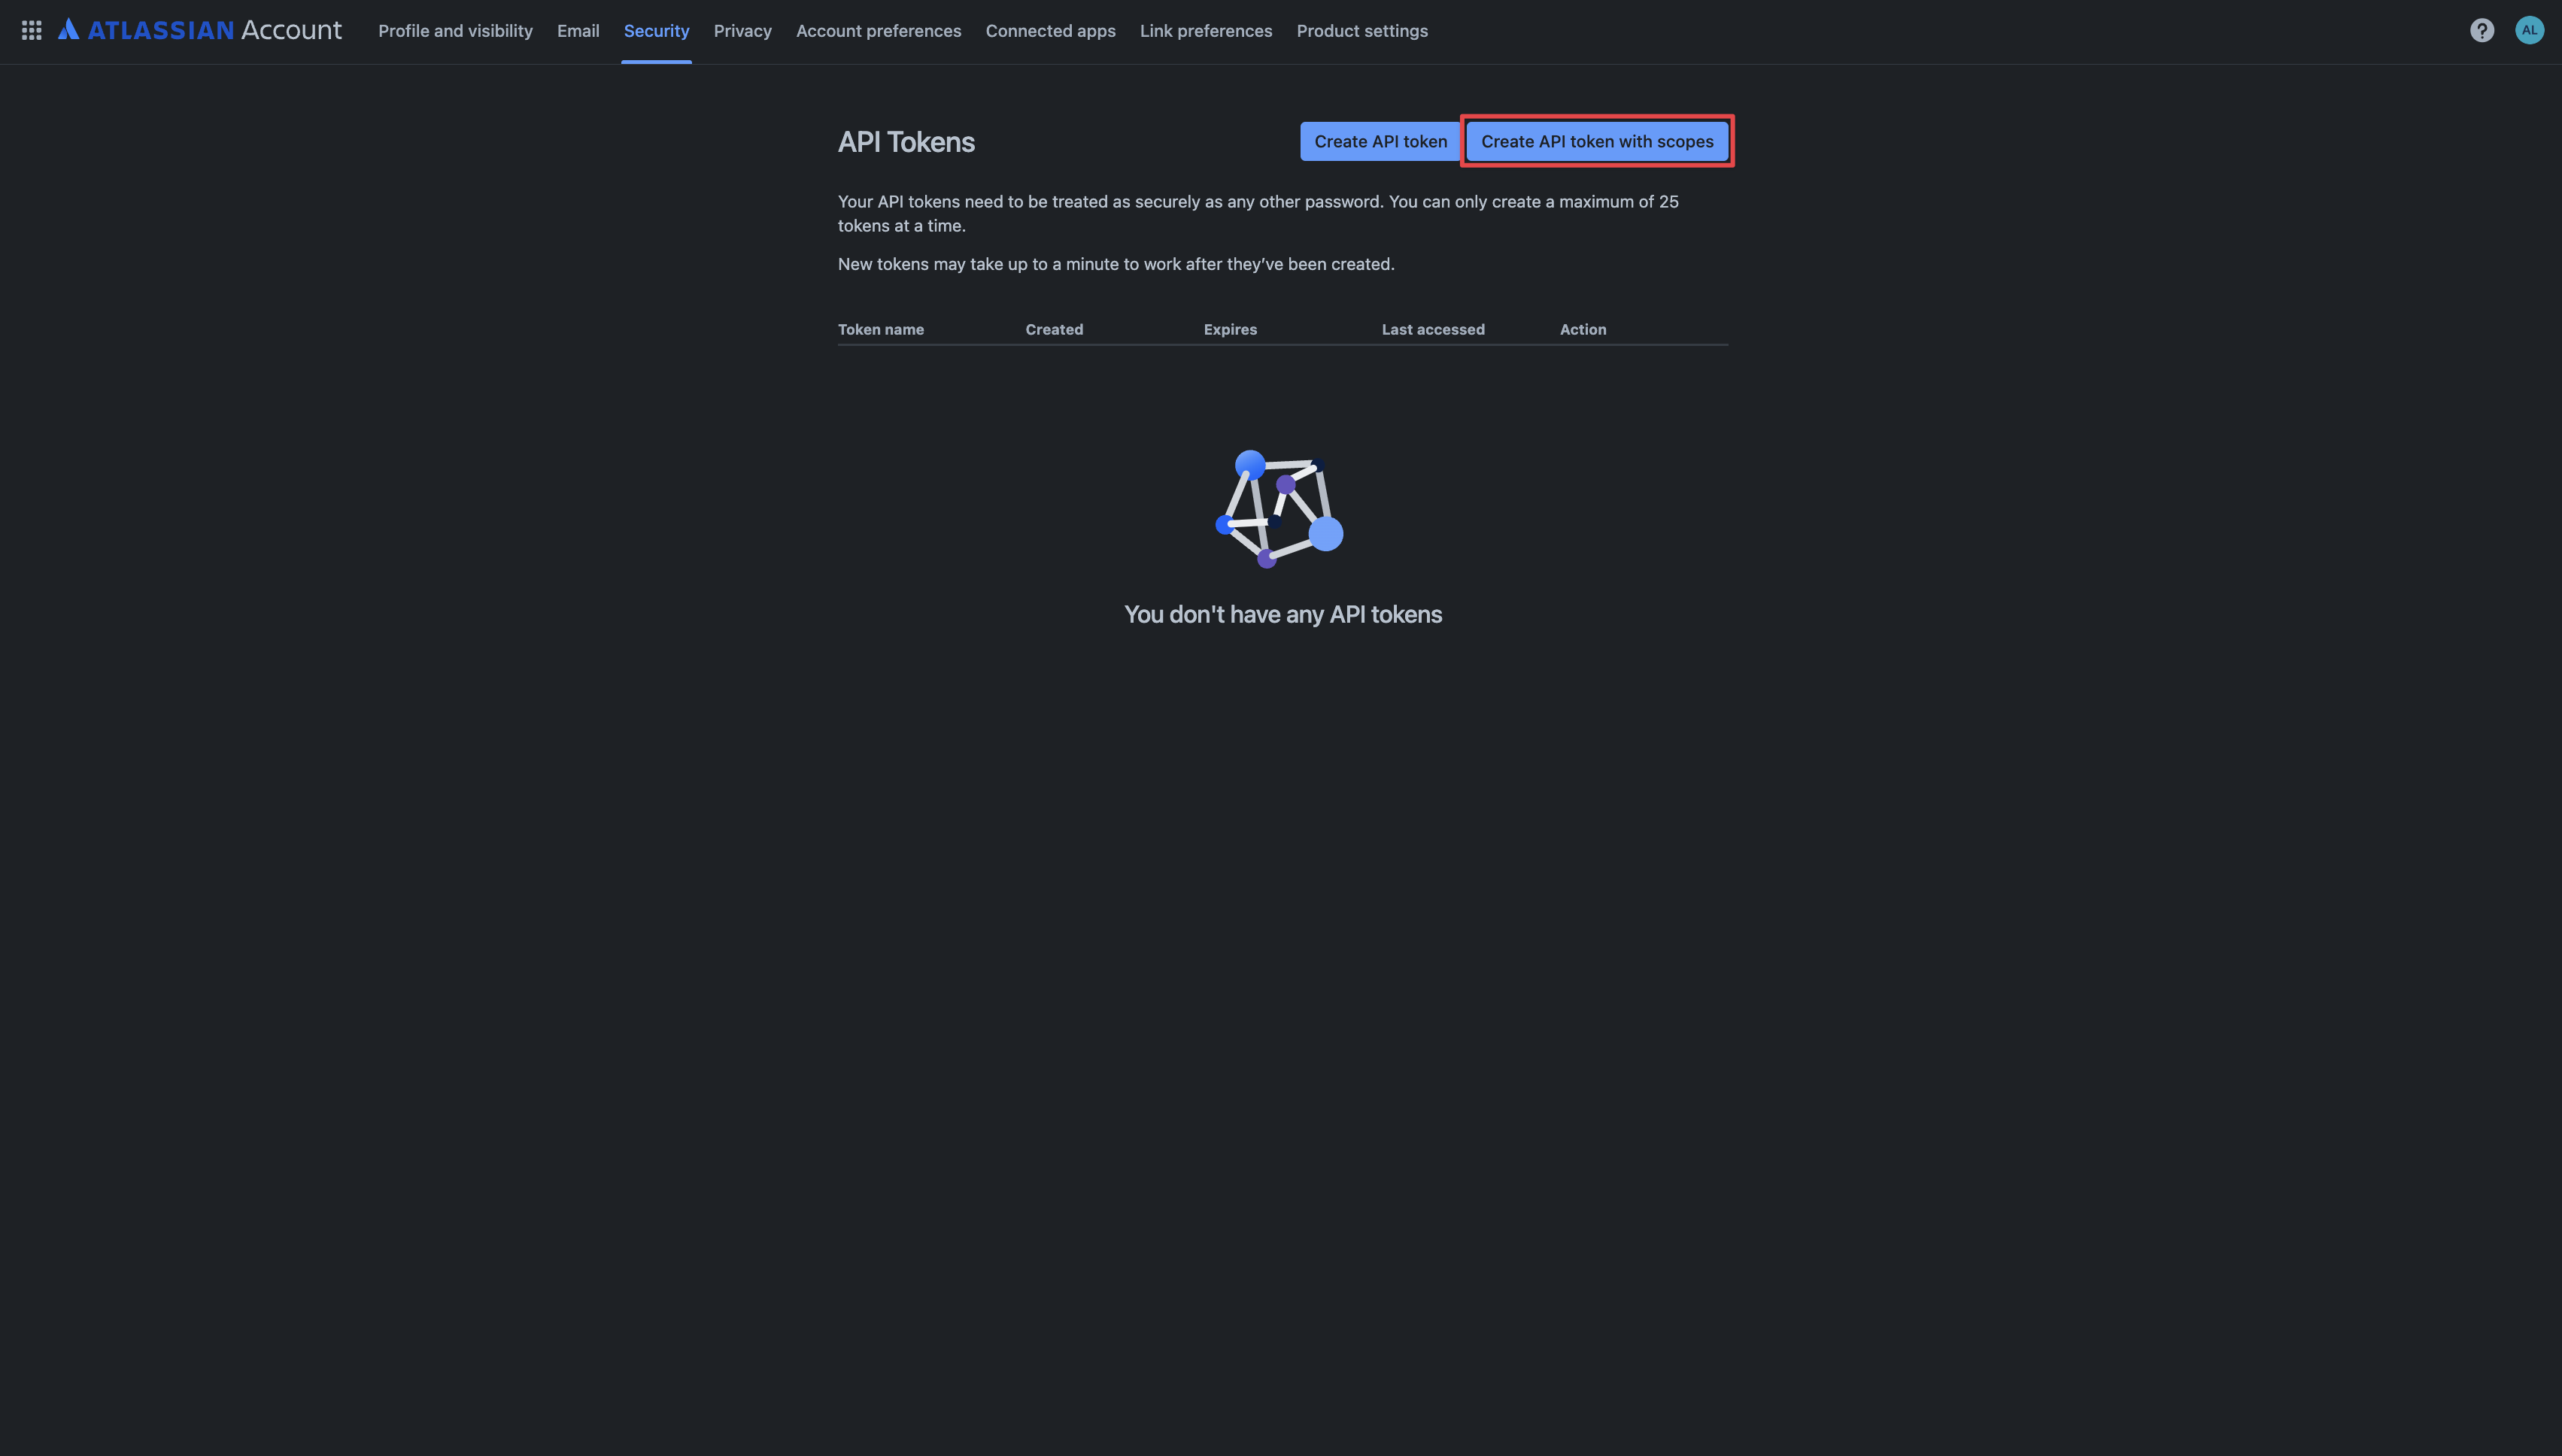
Create Bitbucket Access Token
Set Name and Expiry
Set the name and expiration date of the token, then click Next.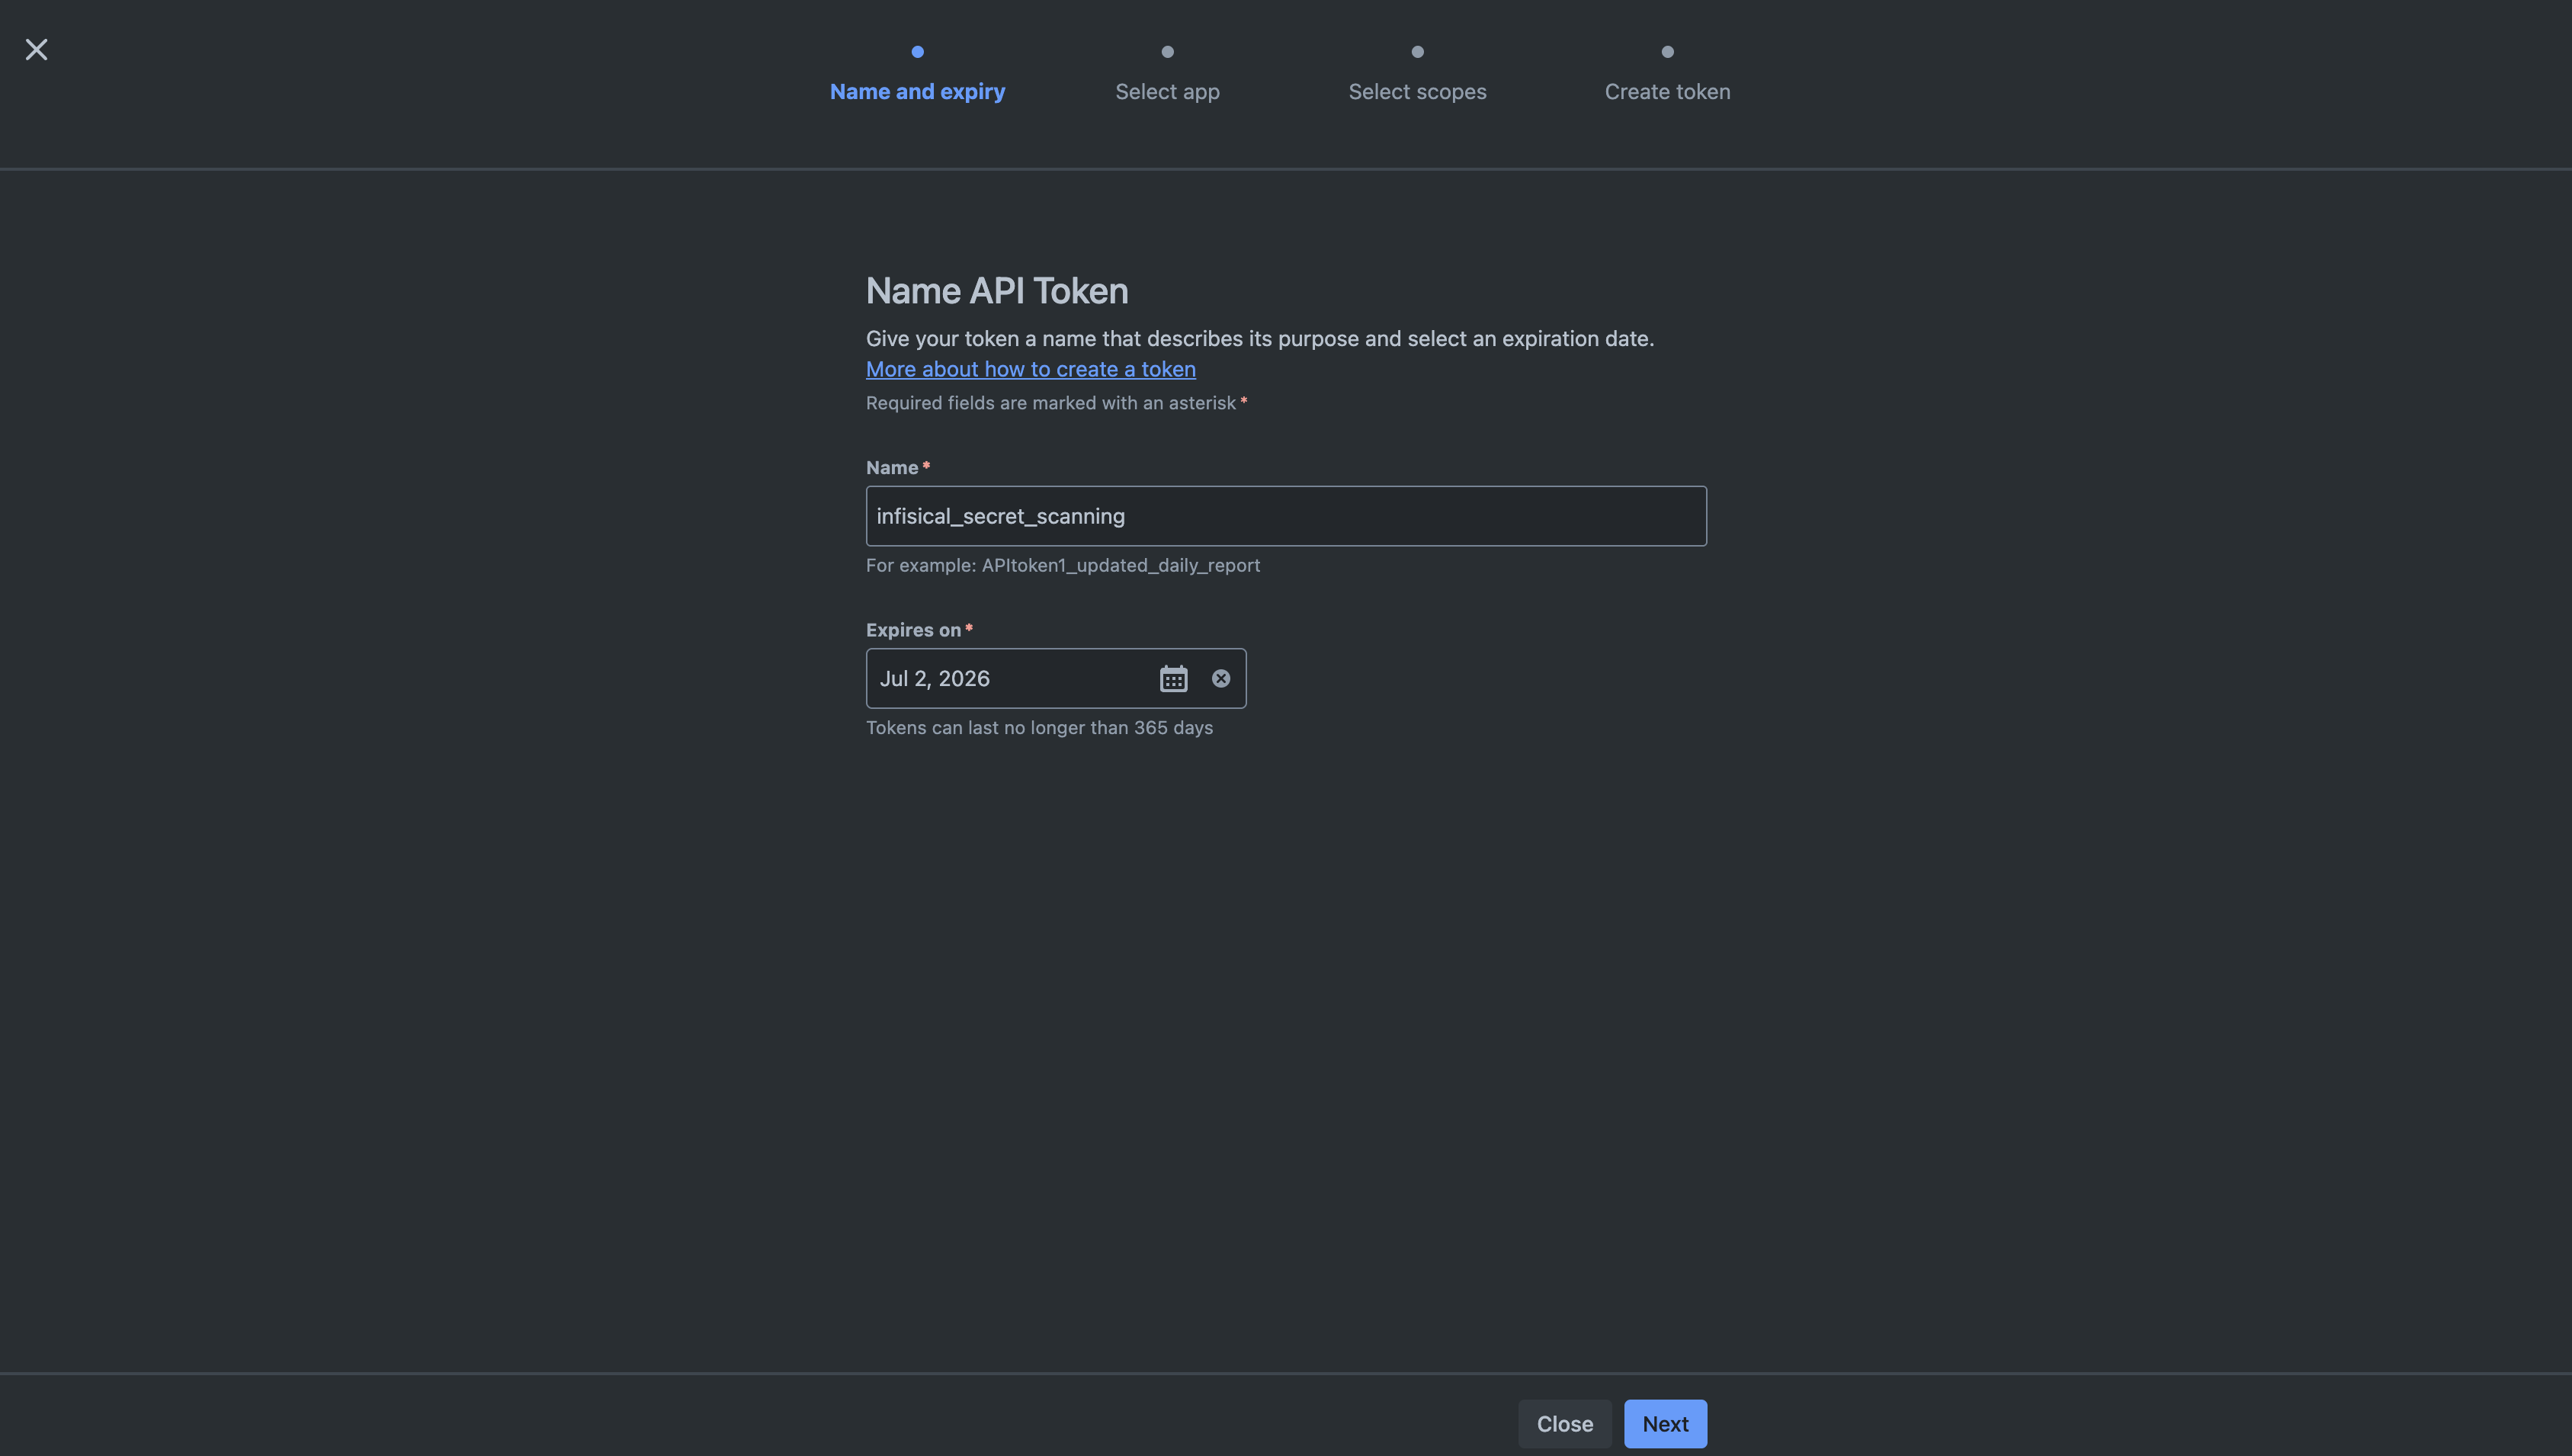
Keep in mind that you’ll need to manually replace the token after it expires.
Select Bitbucket
Select Bitbucket and then click Next.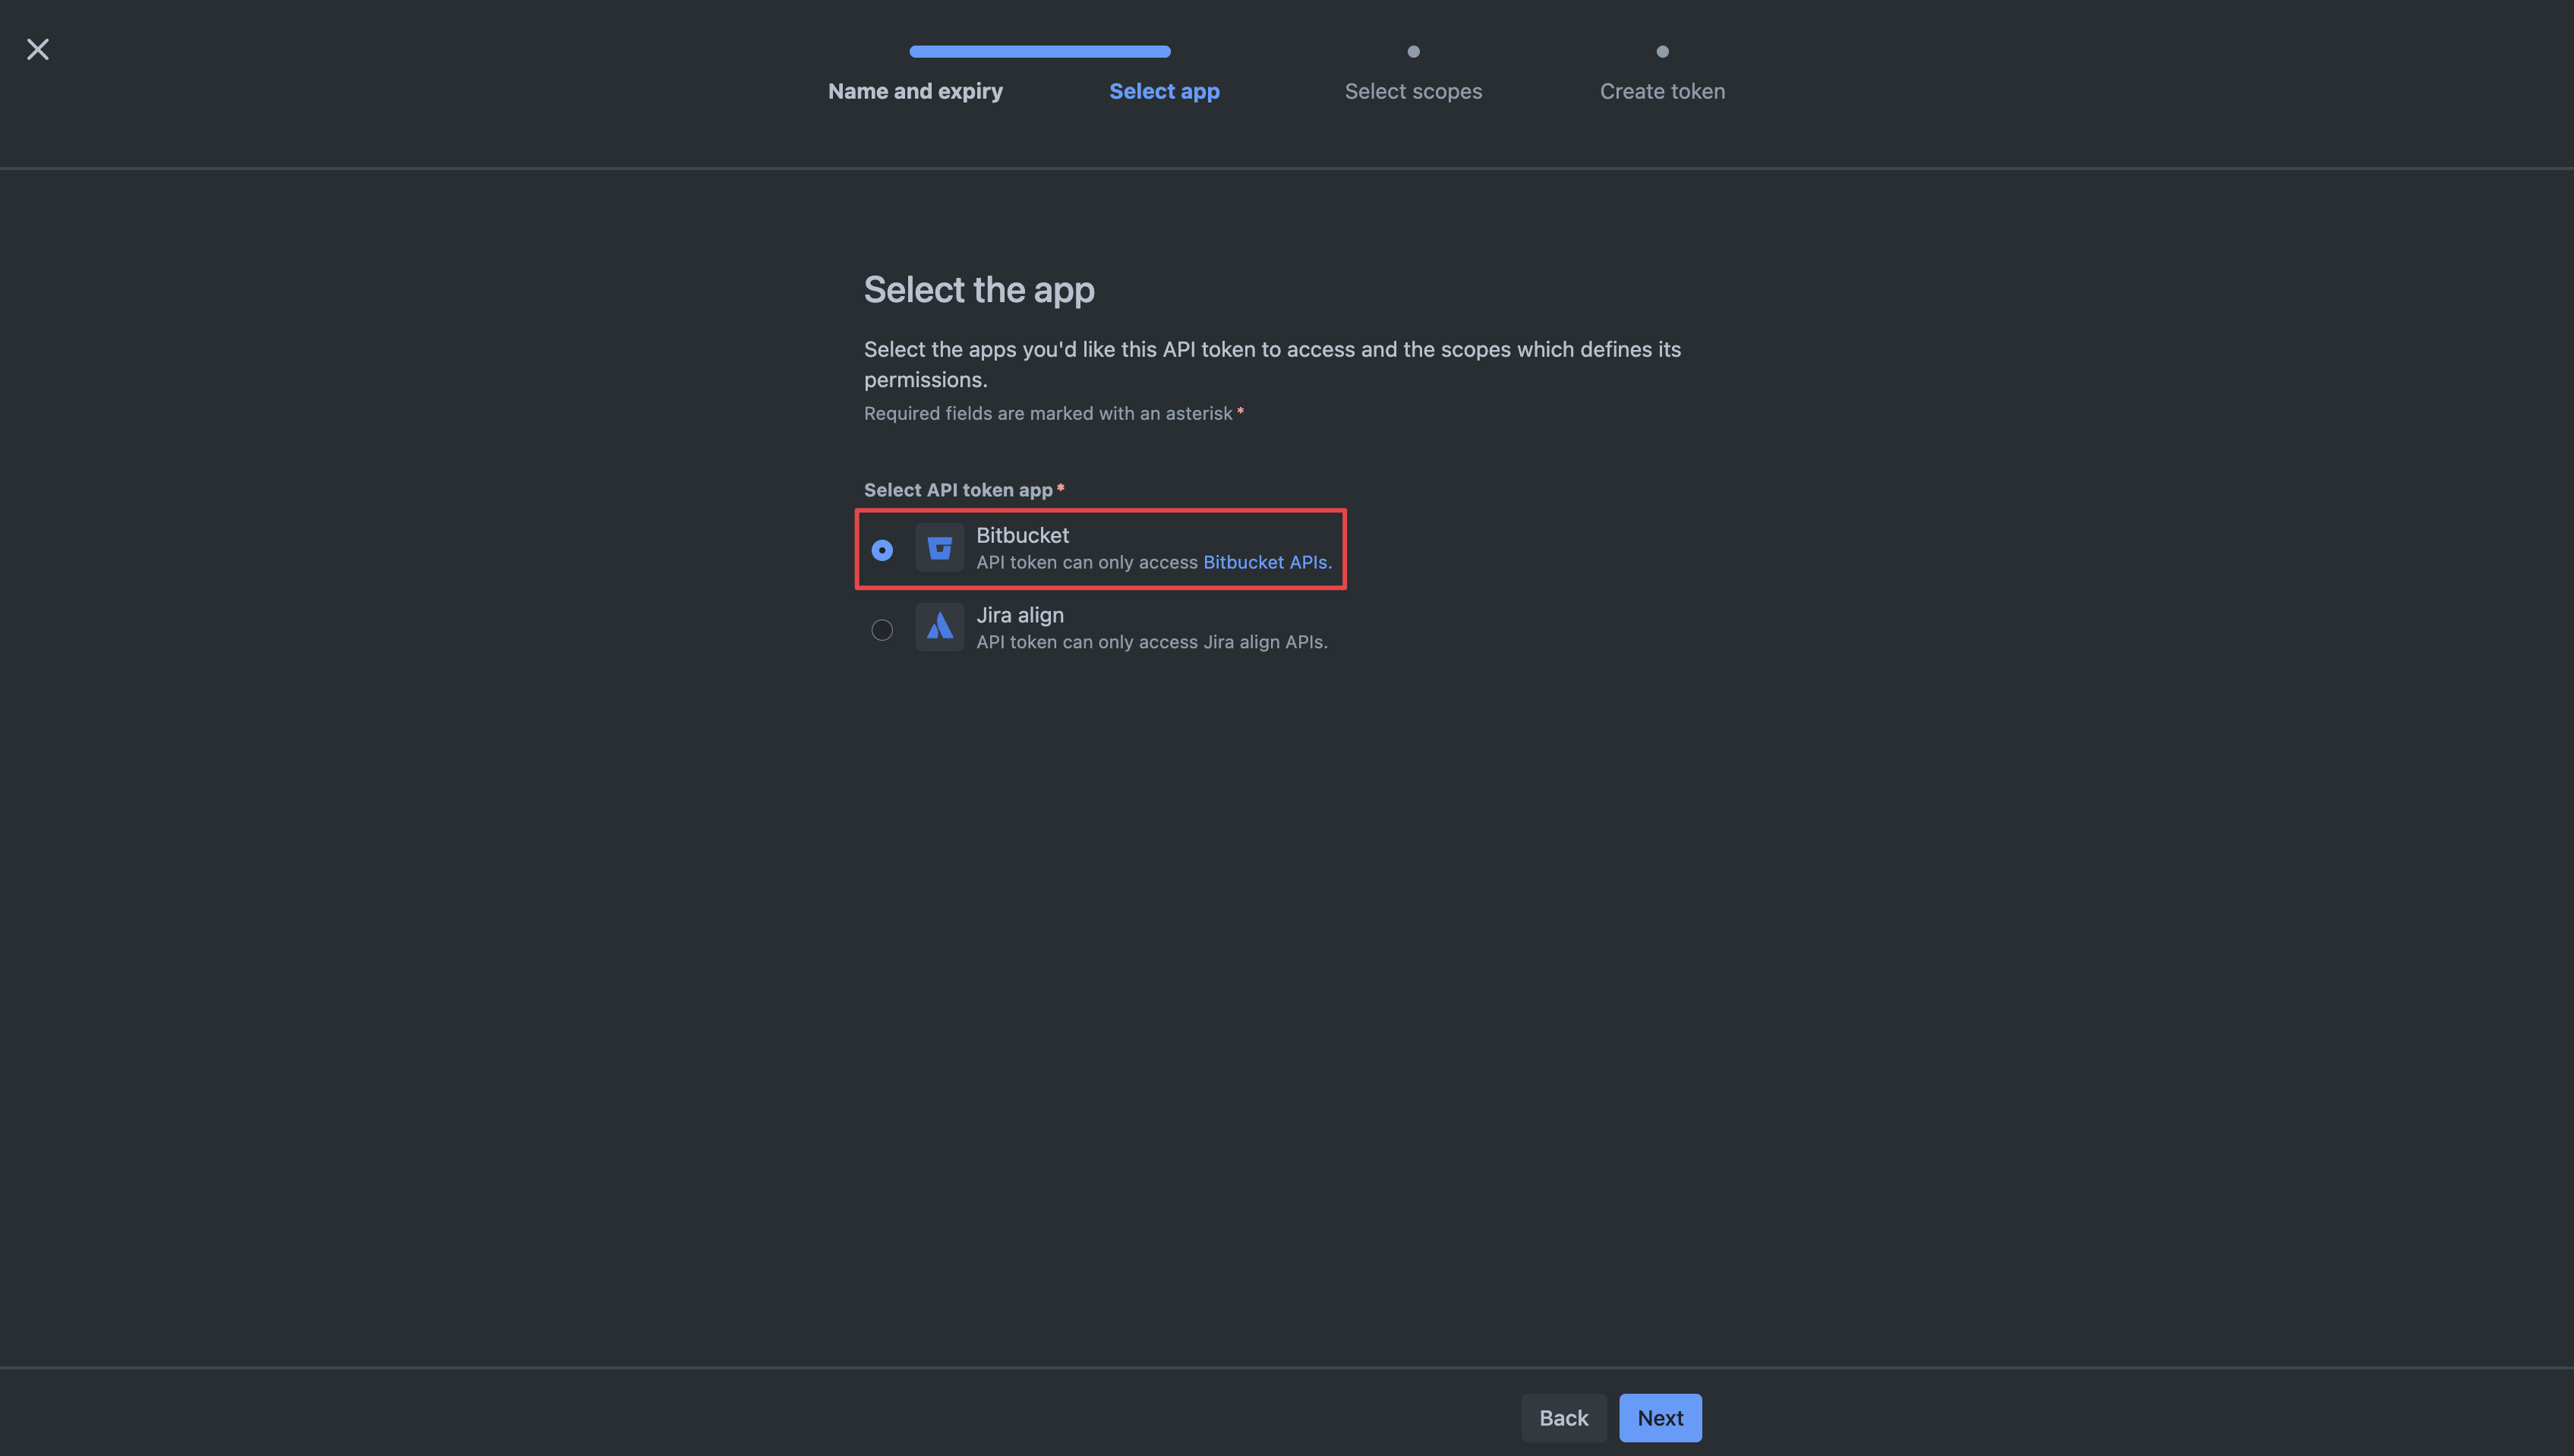
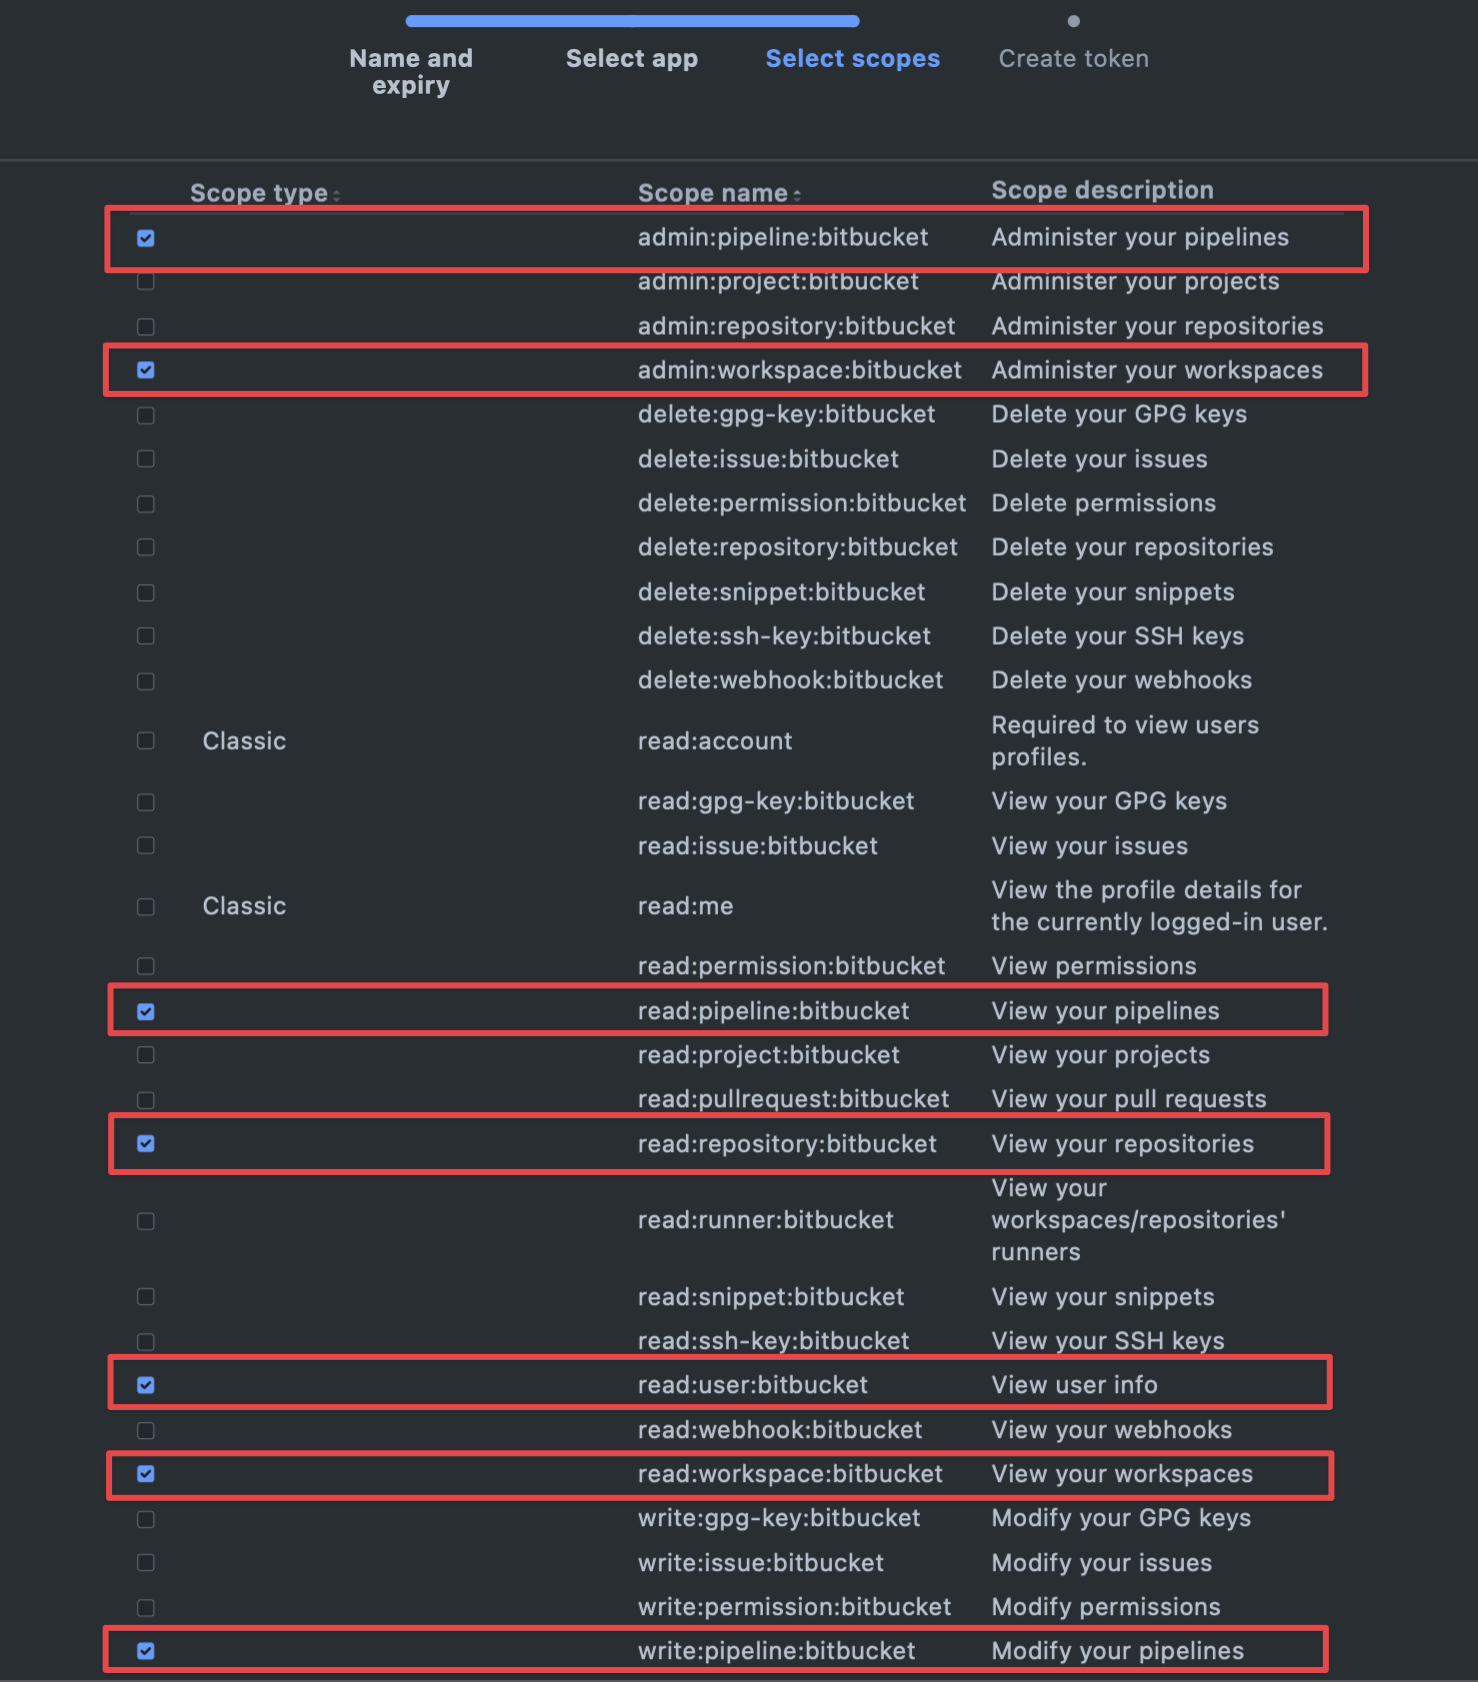
Configure Permissions
Configure permissions according to your app’s use case: Secret Scanning
Secret Sync
read:workspace:bitbucket
read:user:bitbucket
read:project:bitbucket
read:webhook:bitbucket
write:webhook:bitbucket
delete:webhook:bitbucket
read:repository:bitbucket

read:workspace:bitbucket
admin:workspace:bitbucket
read:user:bitbucket
read:project:bitbucket
read:repository:bitbucket
read:pipeline:bitbucket
write:pipeline:bitbucket
admin:pipeline:bitbucket
Copy Token
Save the API Token for later steps.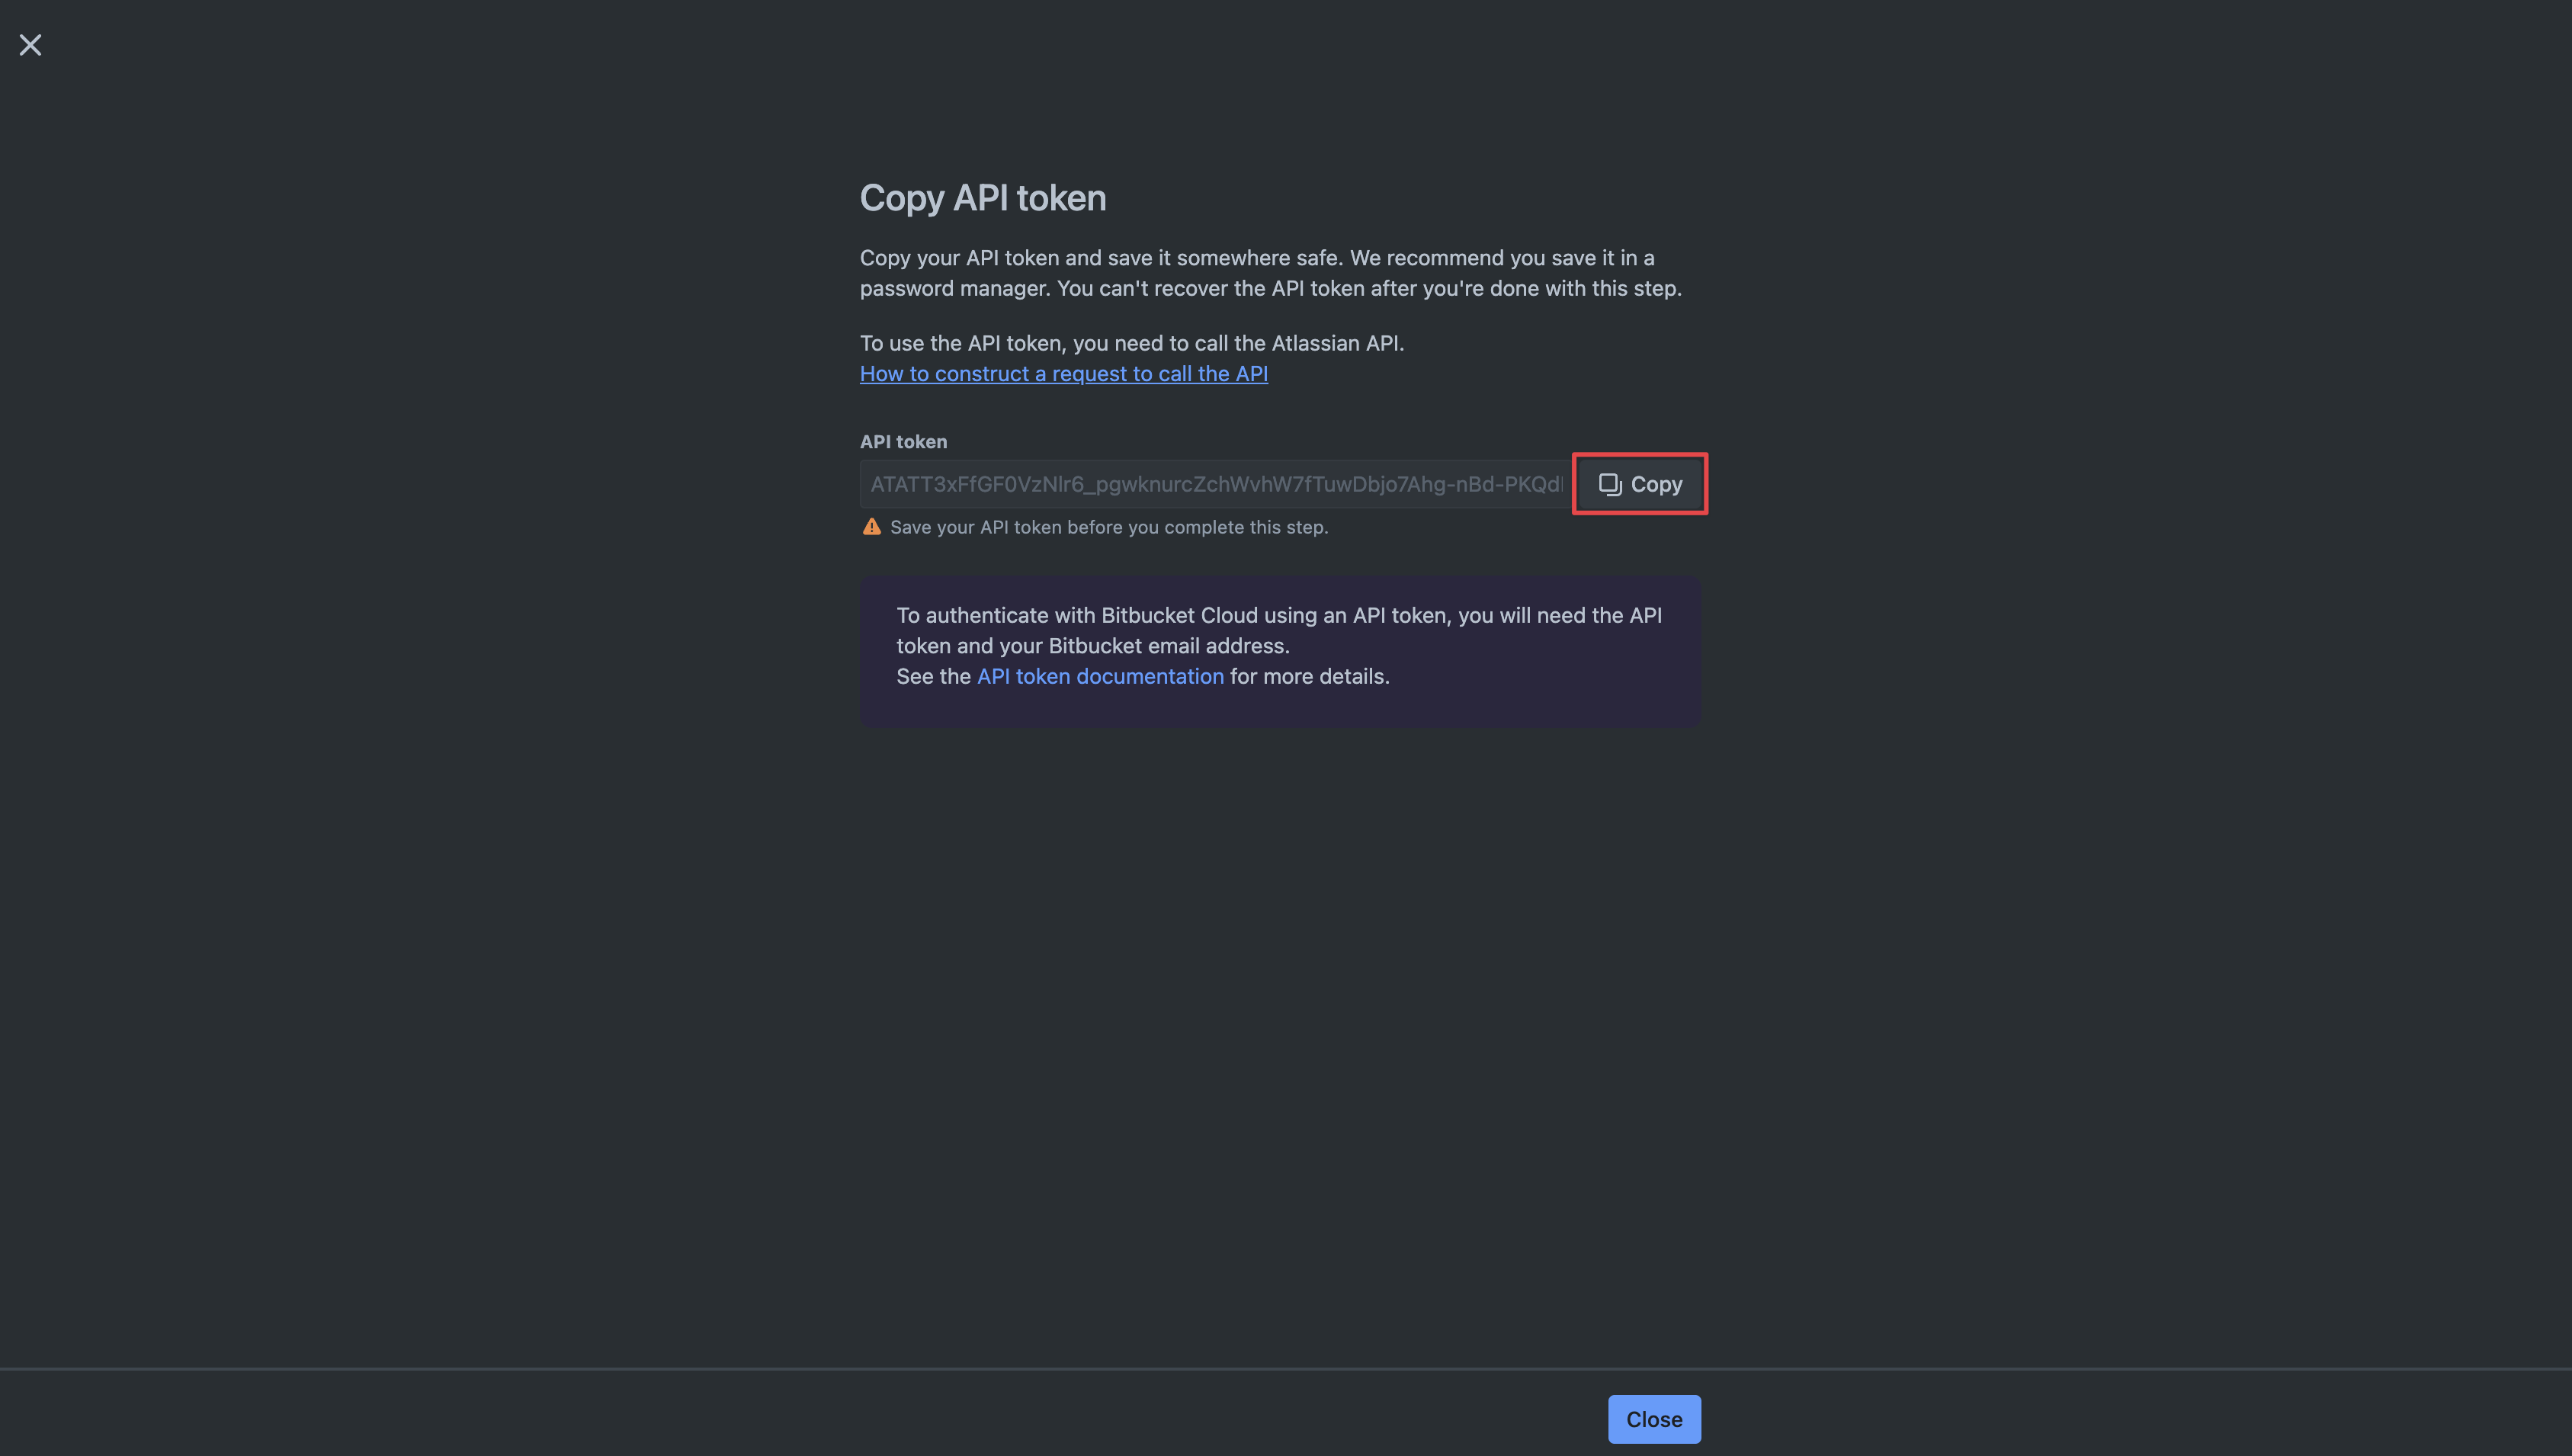
Create Bitbucket Connection in Infisical
Navigate to App Connections
In your Infisical dashboard, navigate to the Integrations tab in the desired project, then select App Connections.
Select Bitbucket Connection
Click the Add new connection button and select Bitbucket from the list of available connections.
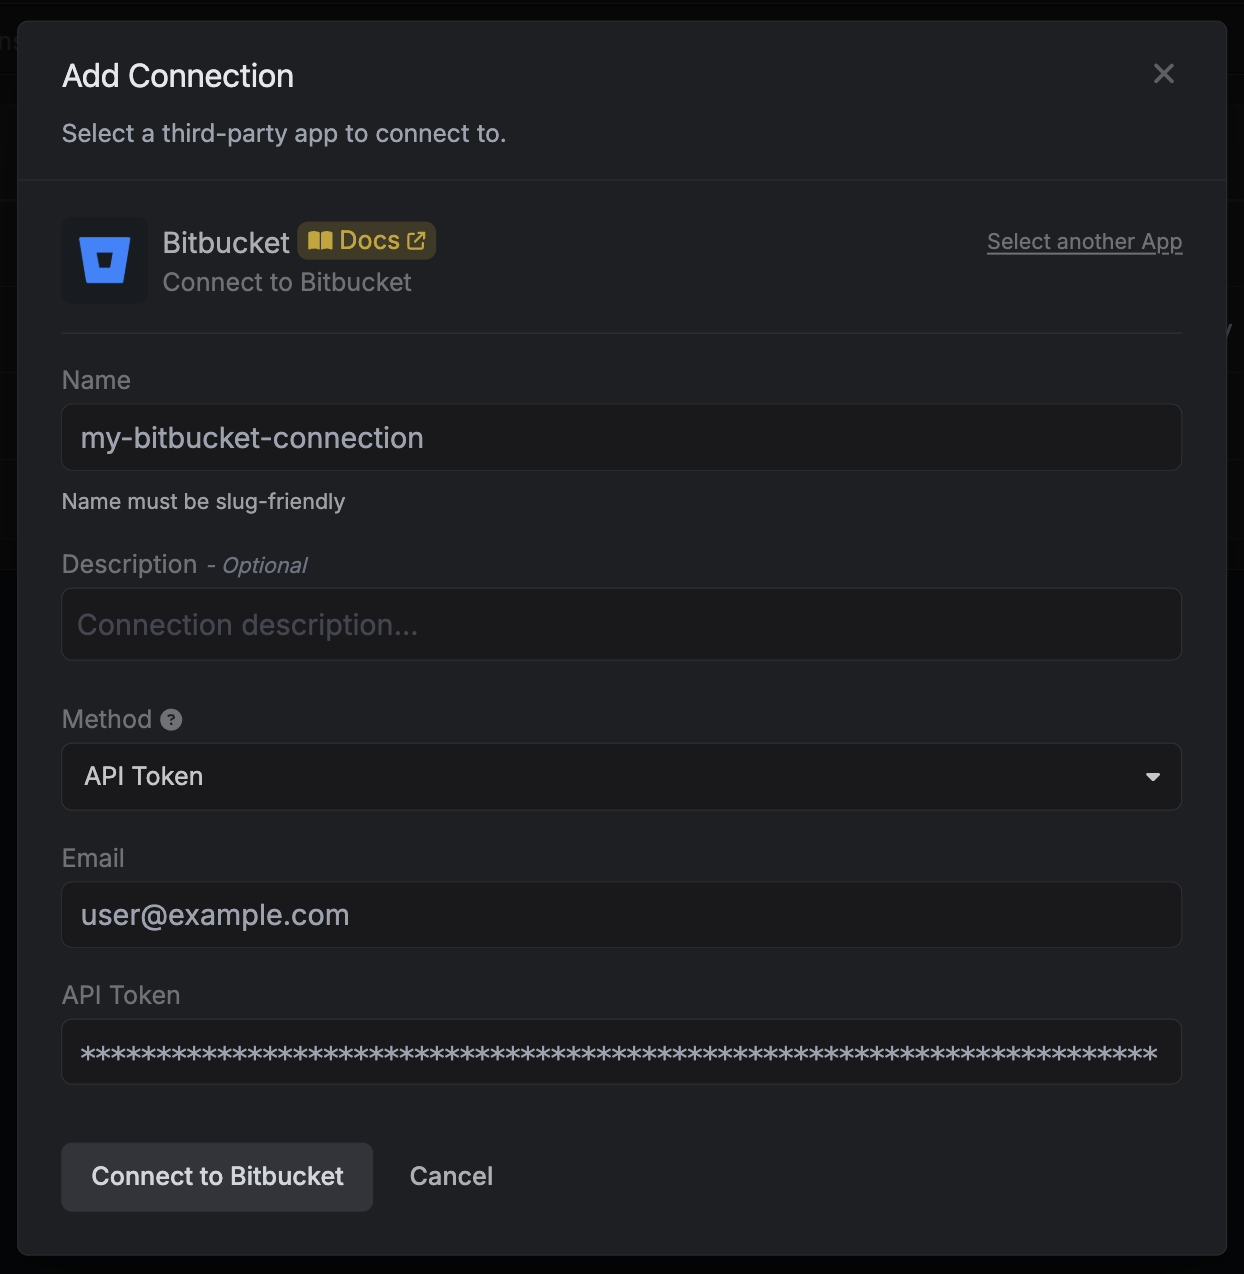
Fill out the Bitbucket Connection Modal
Complete the Bitbucket Connection form by entering:
-
A descriptive name for the connection
-
An optional description for future reference
-
Your Bitbucket email
-
The API Token from earlier steps
Connection Created
After clicking Create, your Bitbucket Connection is established and ready to use with your Infisical project.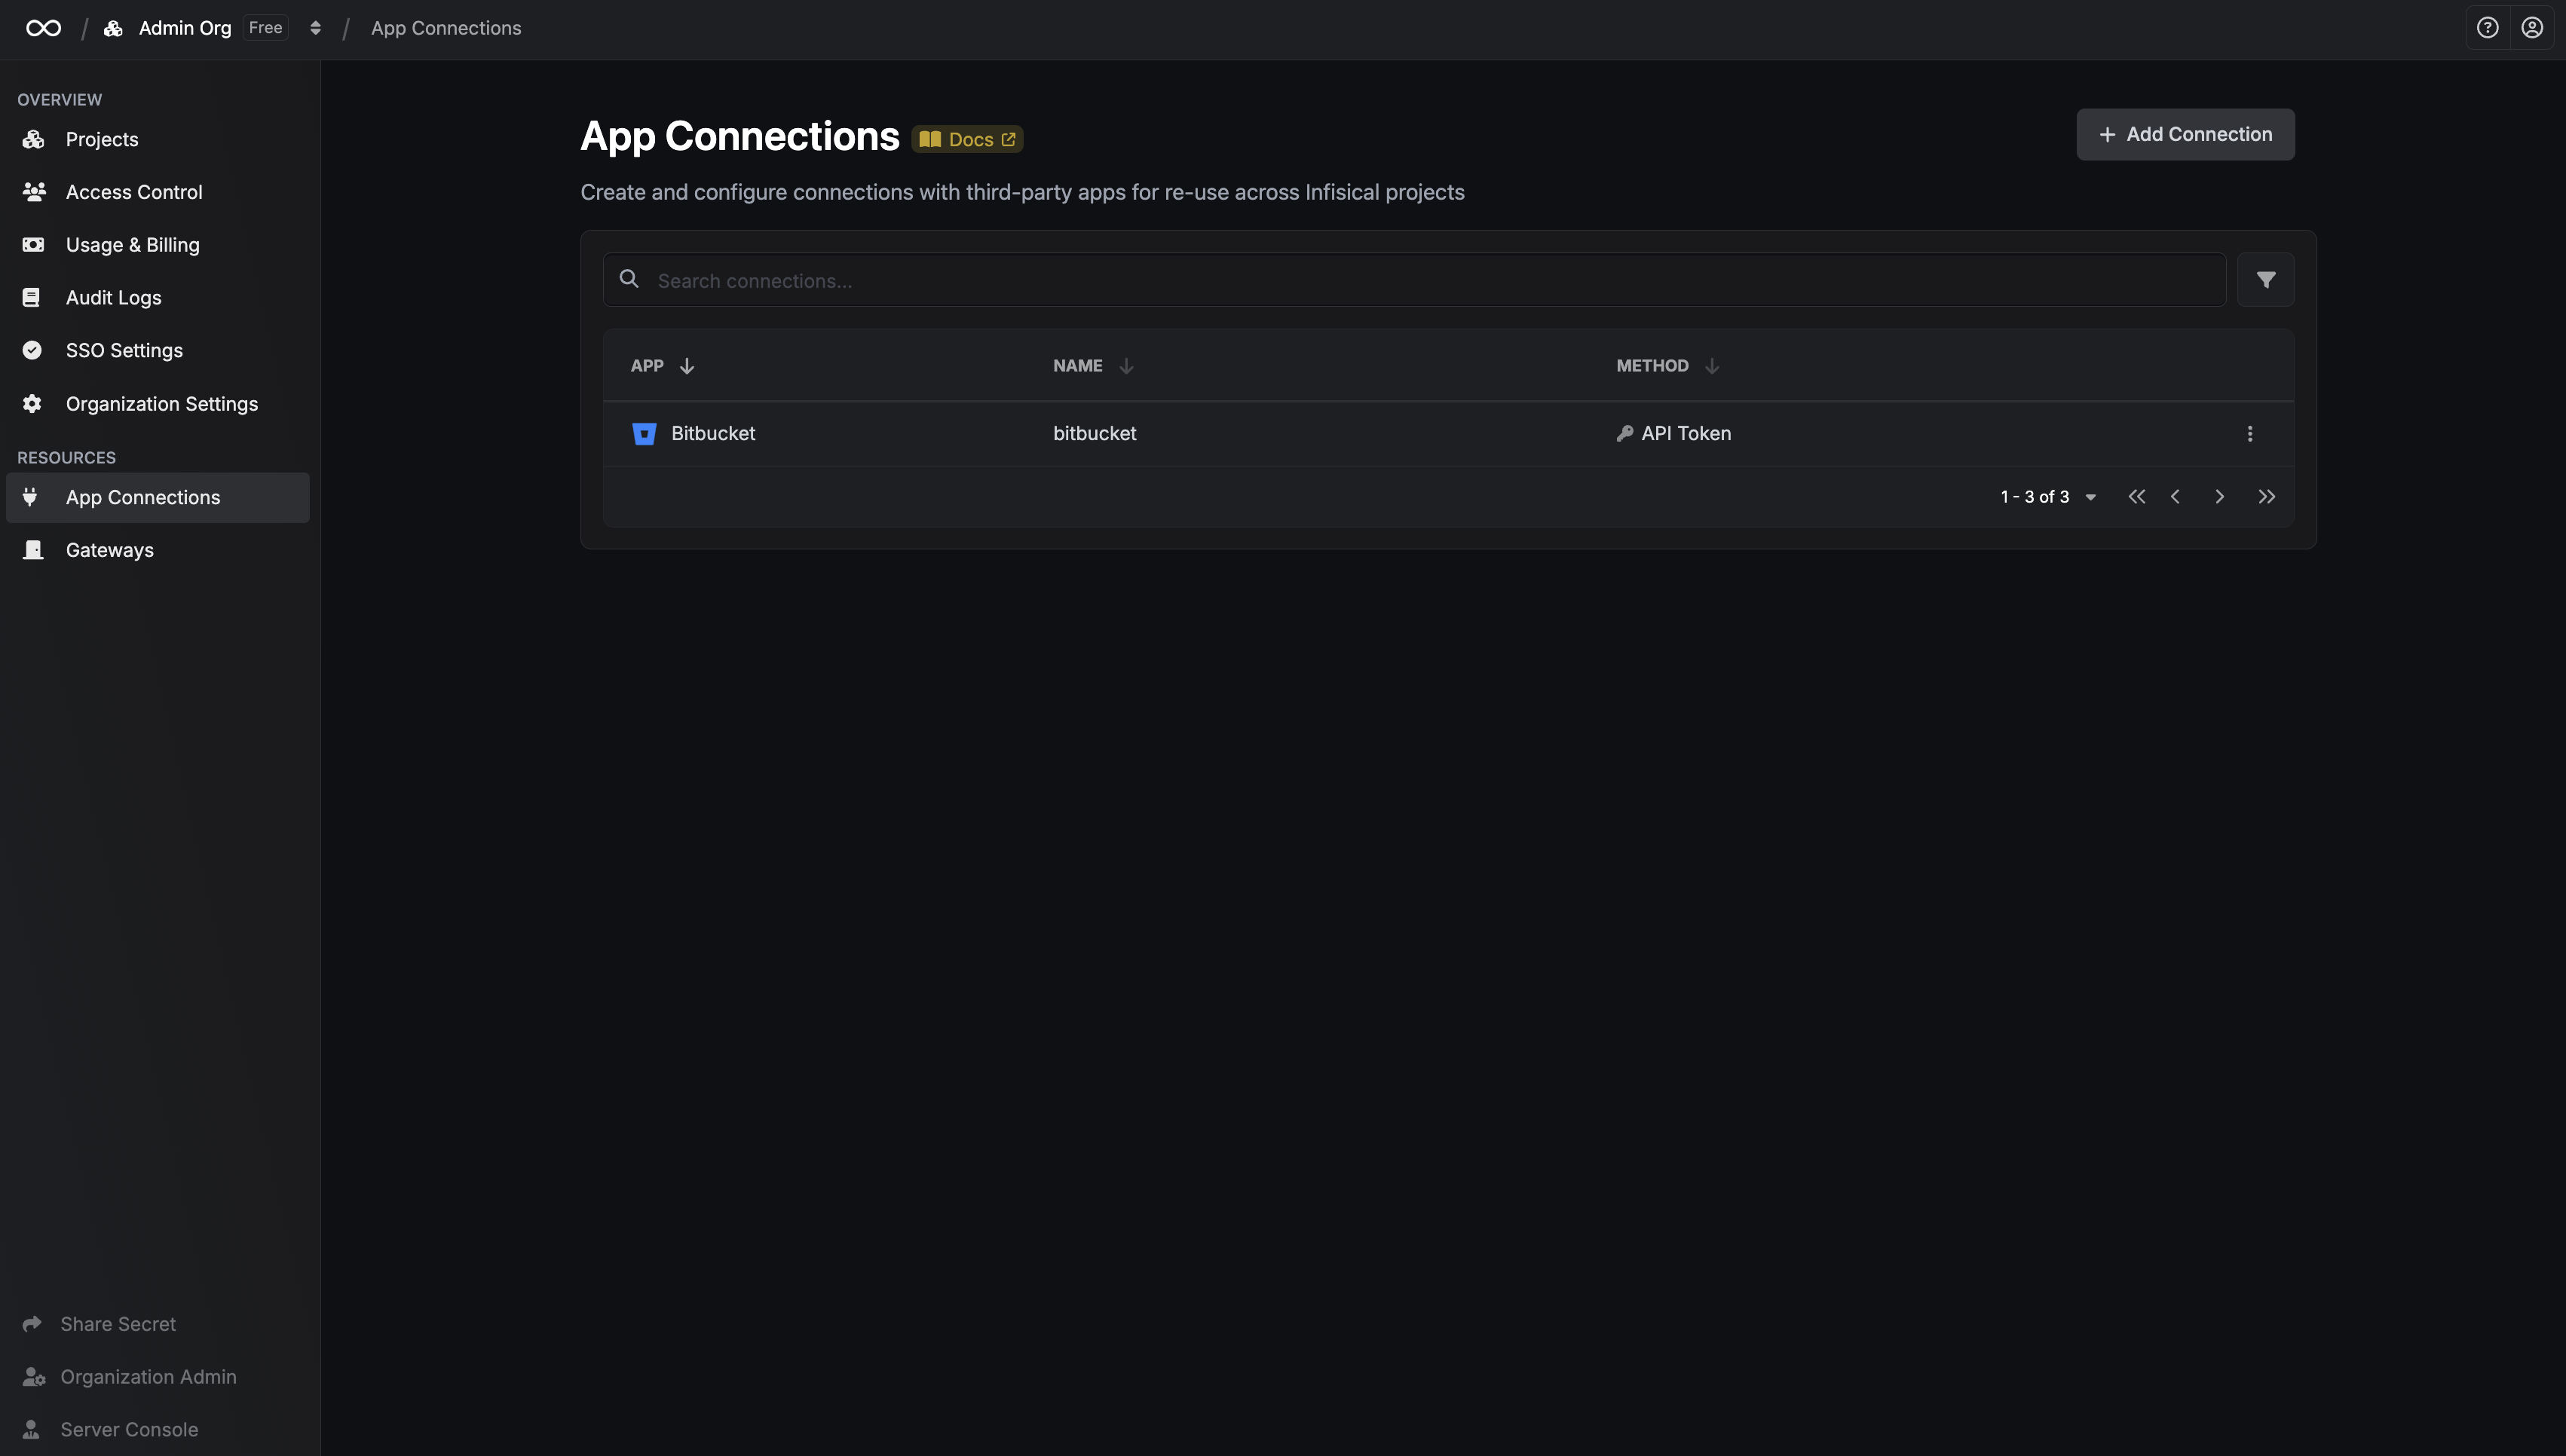
To create a Bitbucket Connection, make an API request to the Create Bitbucket Connection API endpoint.Sample request
curl    --request POST \
        --url https://app.infisical.com/api/v1/app-connections/bitbucket \
        --header 'Content-Type: application/json' \
        --data '{
            "name": "my-bitbucket-connection",
            "method": "api-token",
            "projectId": "7ffbb072-2575-495a-b5b0-127f88caef78",
            "credentials": {
                "email": "user@example.com",
                "apiToken": "<YOUR-API-TOKEN>"
            }
        }'
Sample response
{
  "appConnection": {
      "id": "e5d18aca-86f7-4026-a95e-efb8aeb0d8e6",
      "name": "my-bitbucket-connection",
      "projectId": "7ffbb072-2575-495a-b5b0-127f88caef78",
      "description": null,
      "version": 1,
      "orgId": "6f03caa1-a5de-43ce-b127-95a145d3464c",
      "createdAt": "2025-04-23T19:46:34.831Z",
      "updatedAt": "2025-04-23T19:46:34.831Z",
      "isPlatformManagedCredentials": false,
      "credentialsHash": "7c2d371dec195f82a6a0d5b41c970a229cfcaf88e894a5b6395e2dbd0280661f",
      "app": "bitbucket",
      "method": "api-token",
      "credentials": {
          "email": "user@example.com"
      }
  }
}