OCI App Connection is a paid feature.If you’re using Infisical Cloud, then it is available under the Enterprise Tier. If you’re self-hosting Infisical,
then you should contact sales@infisical.com to purchase an enterprise license to use it.
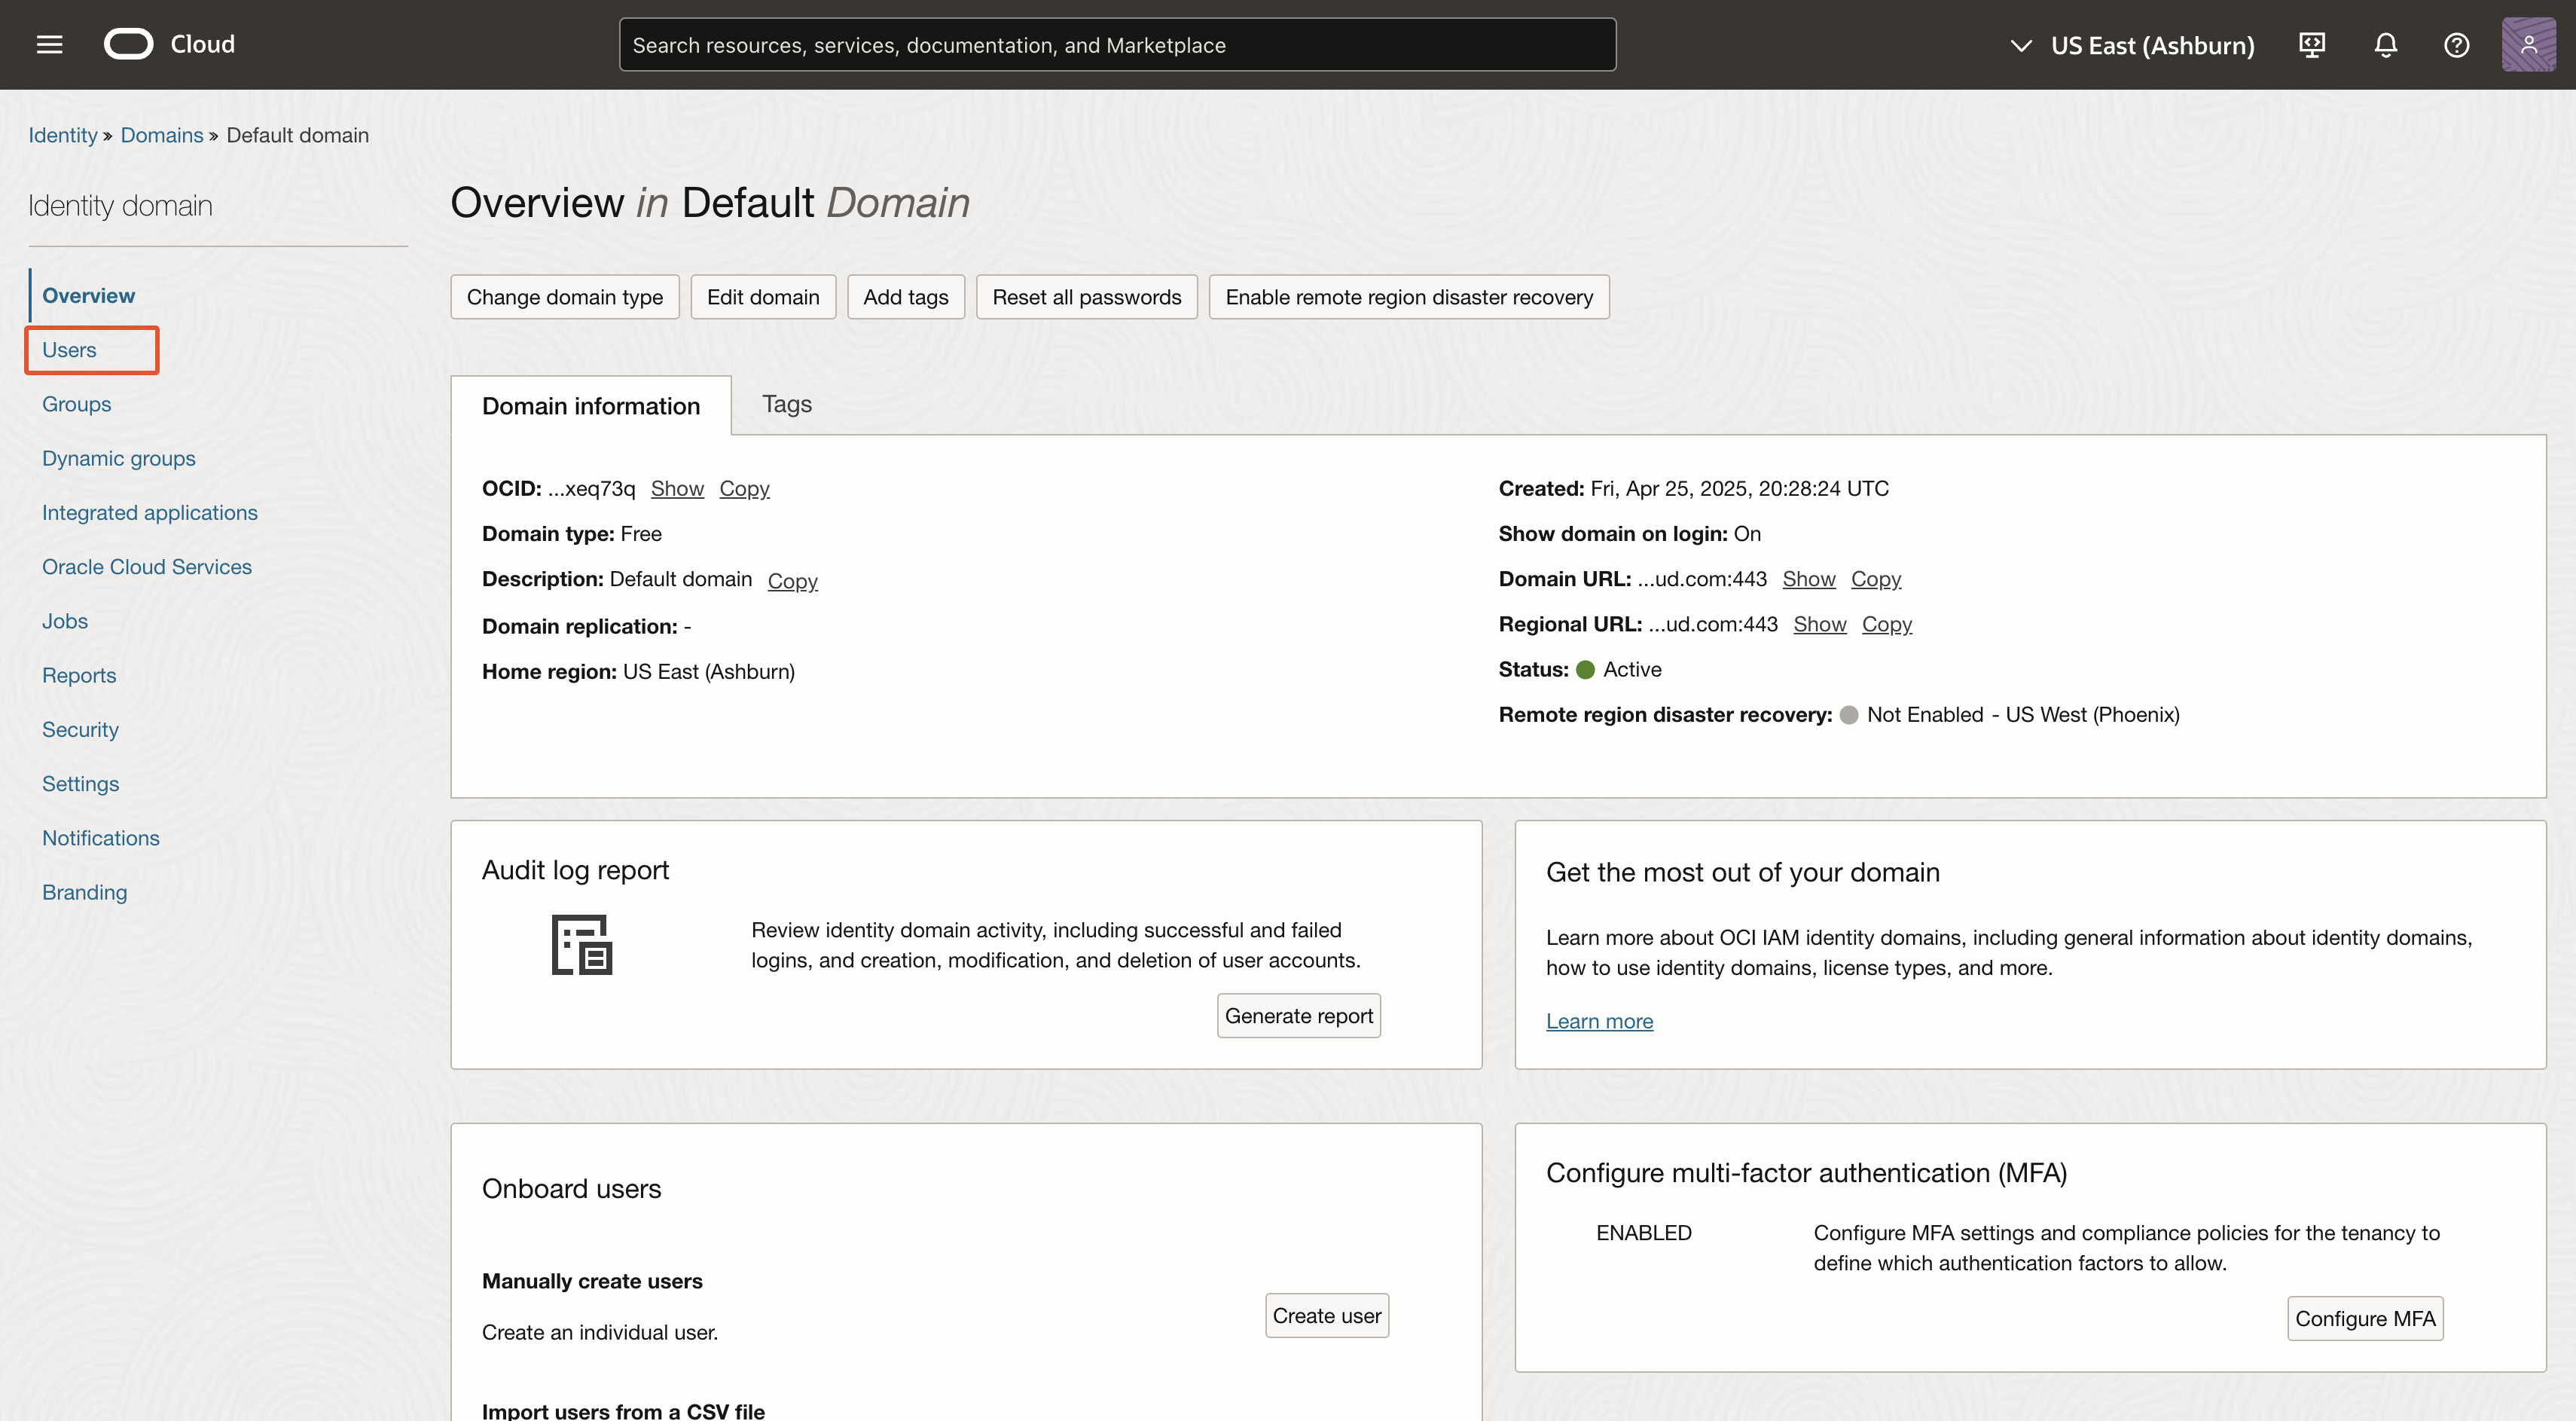
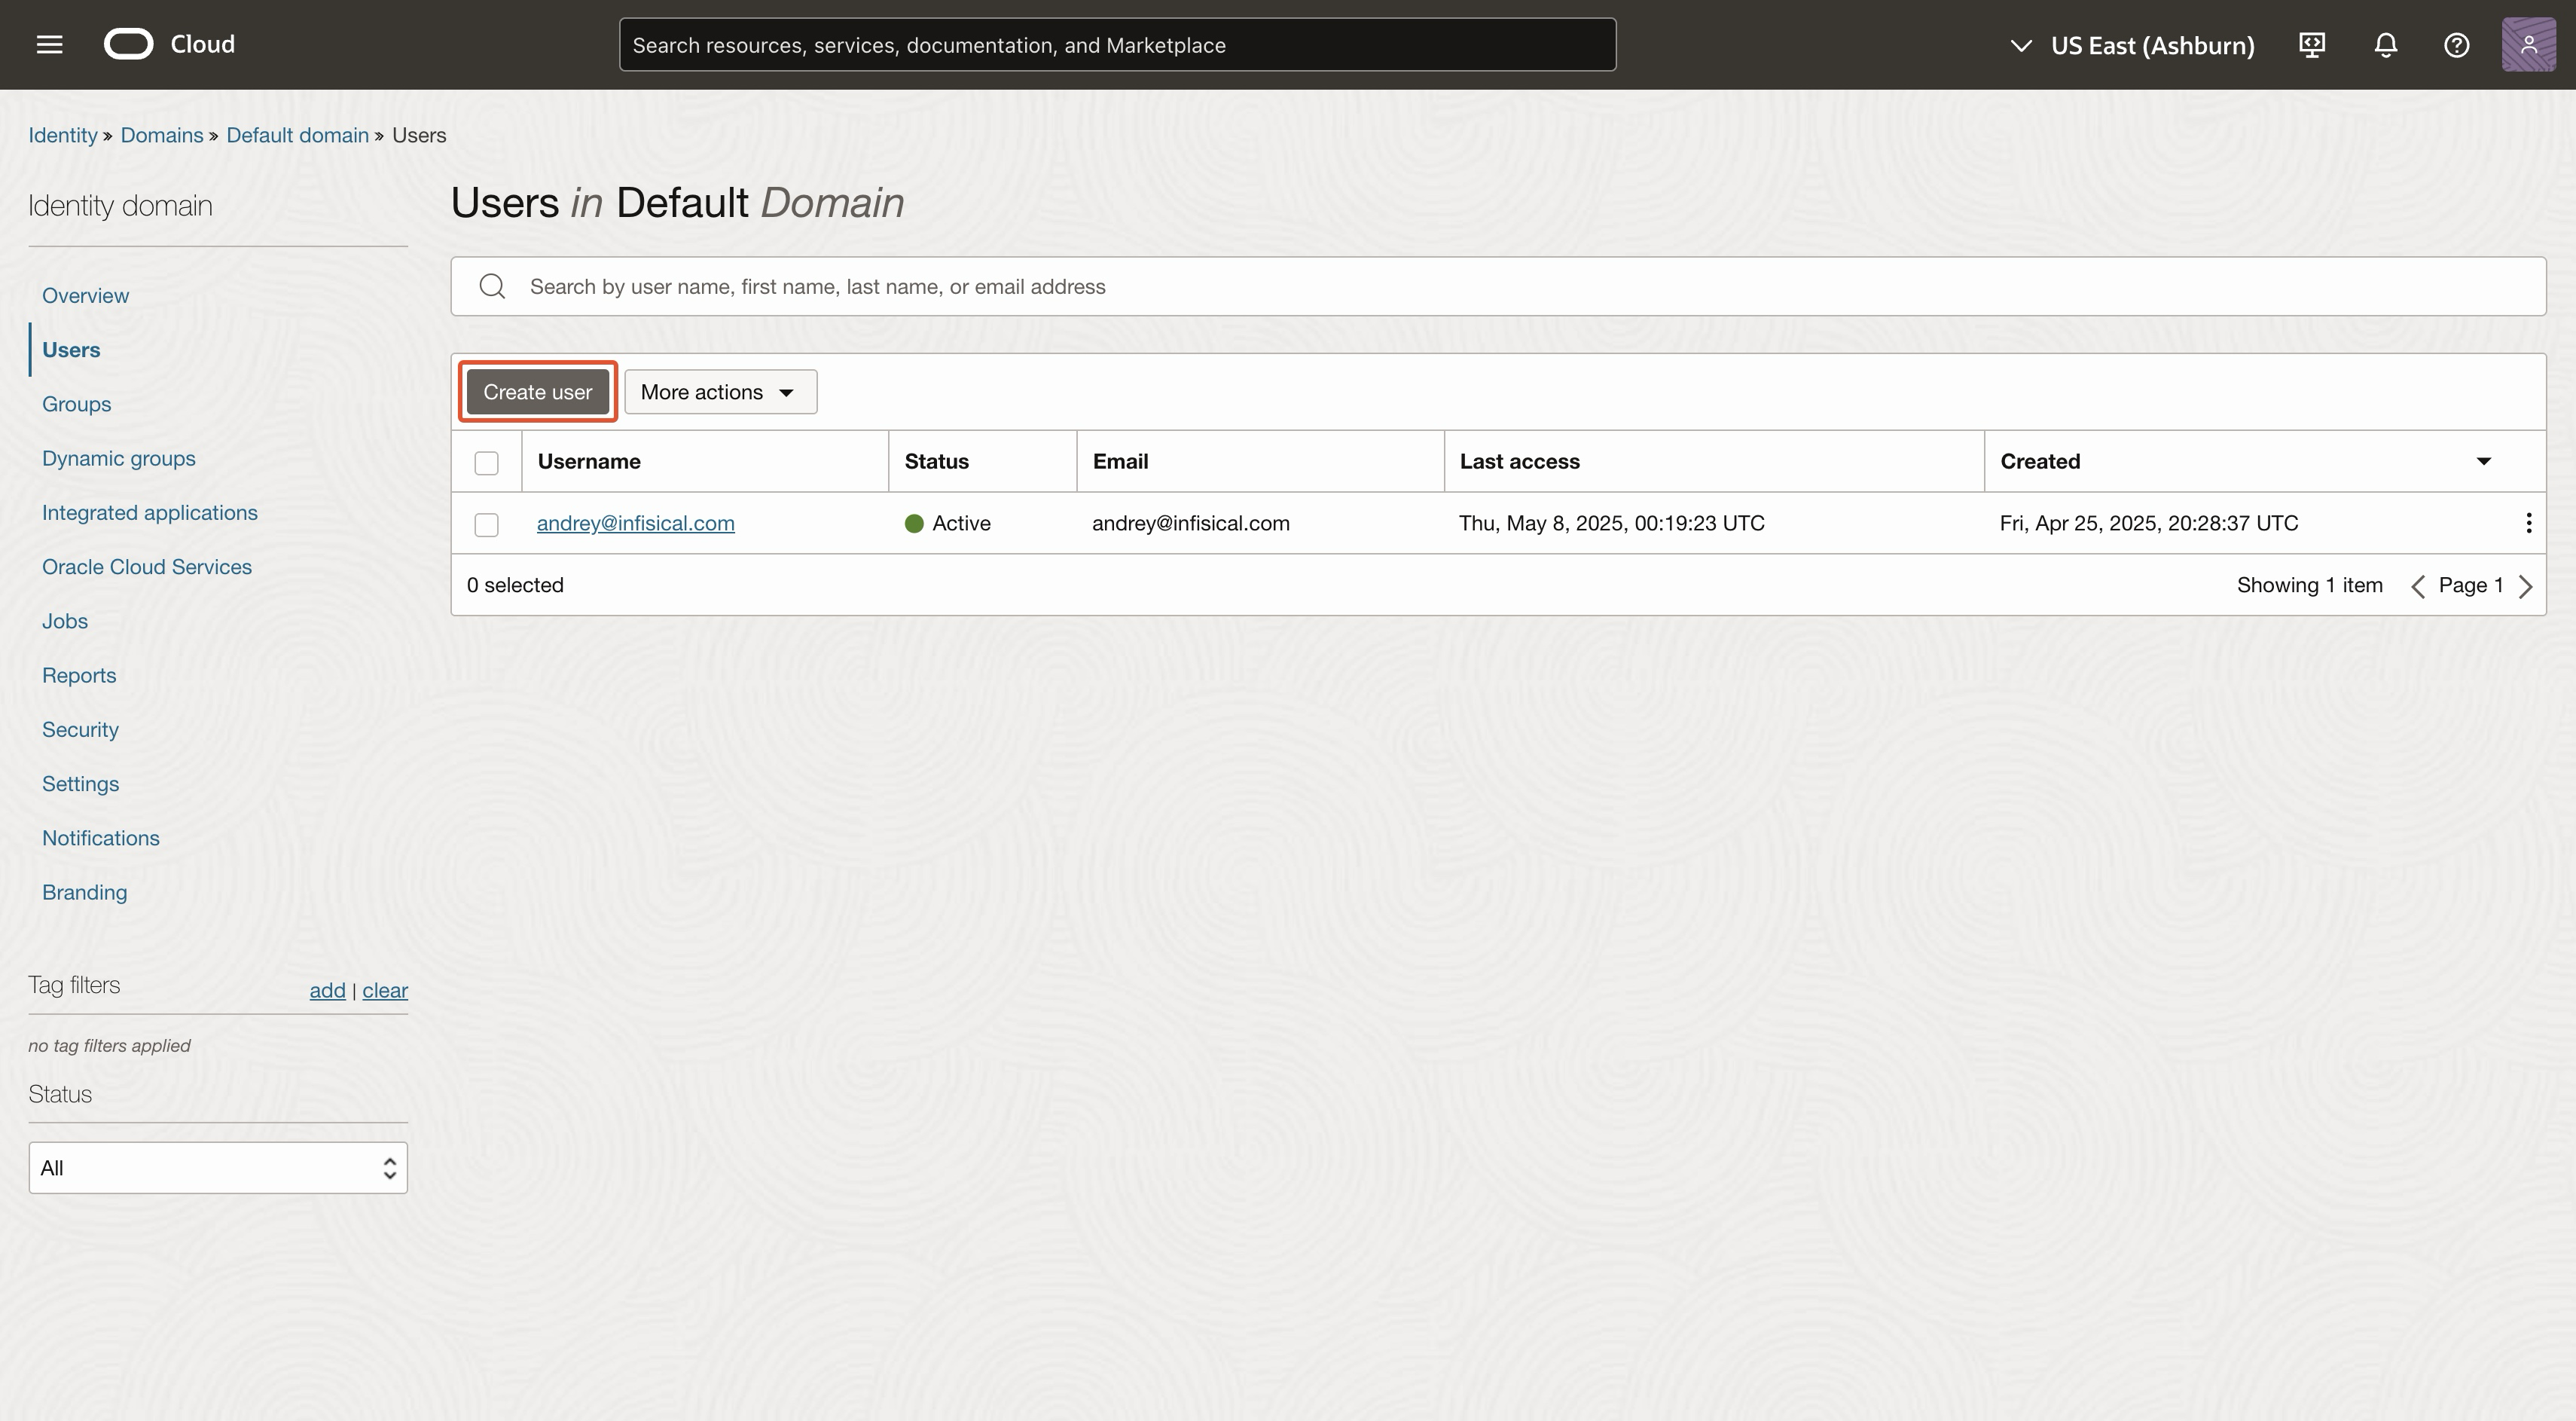
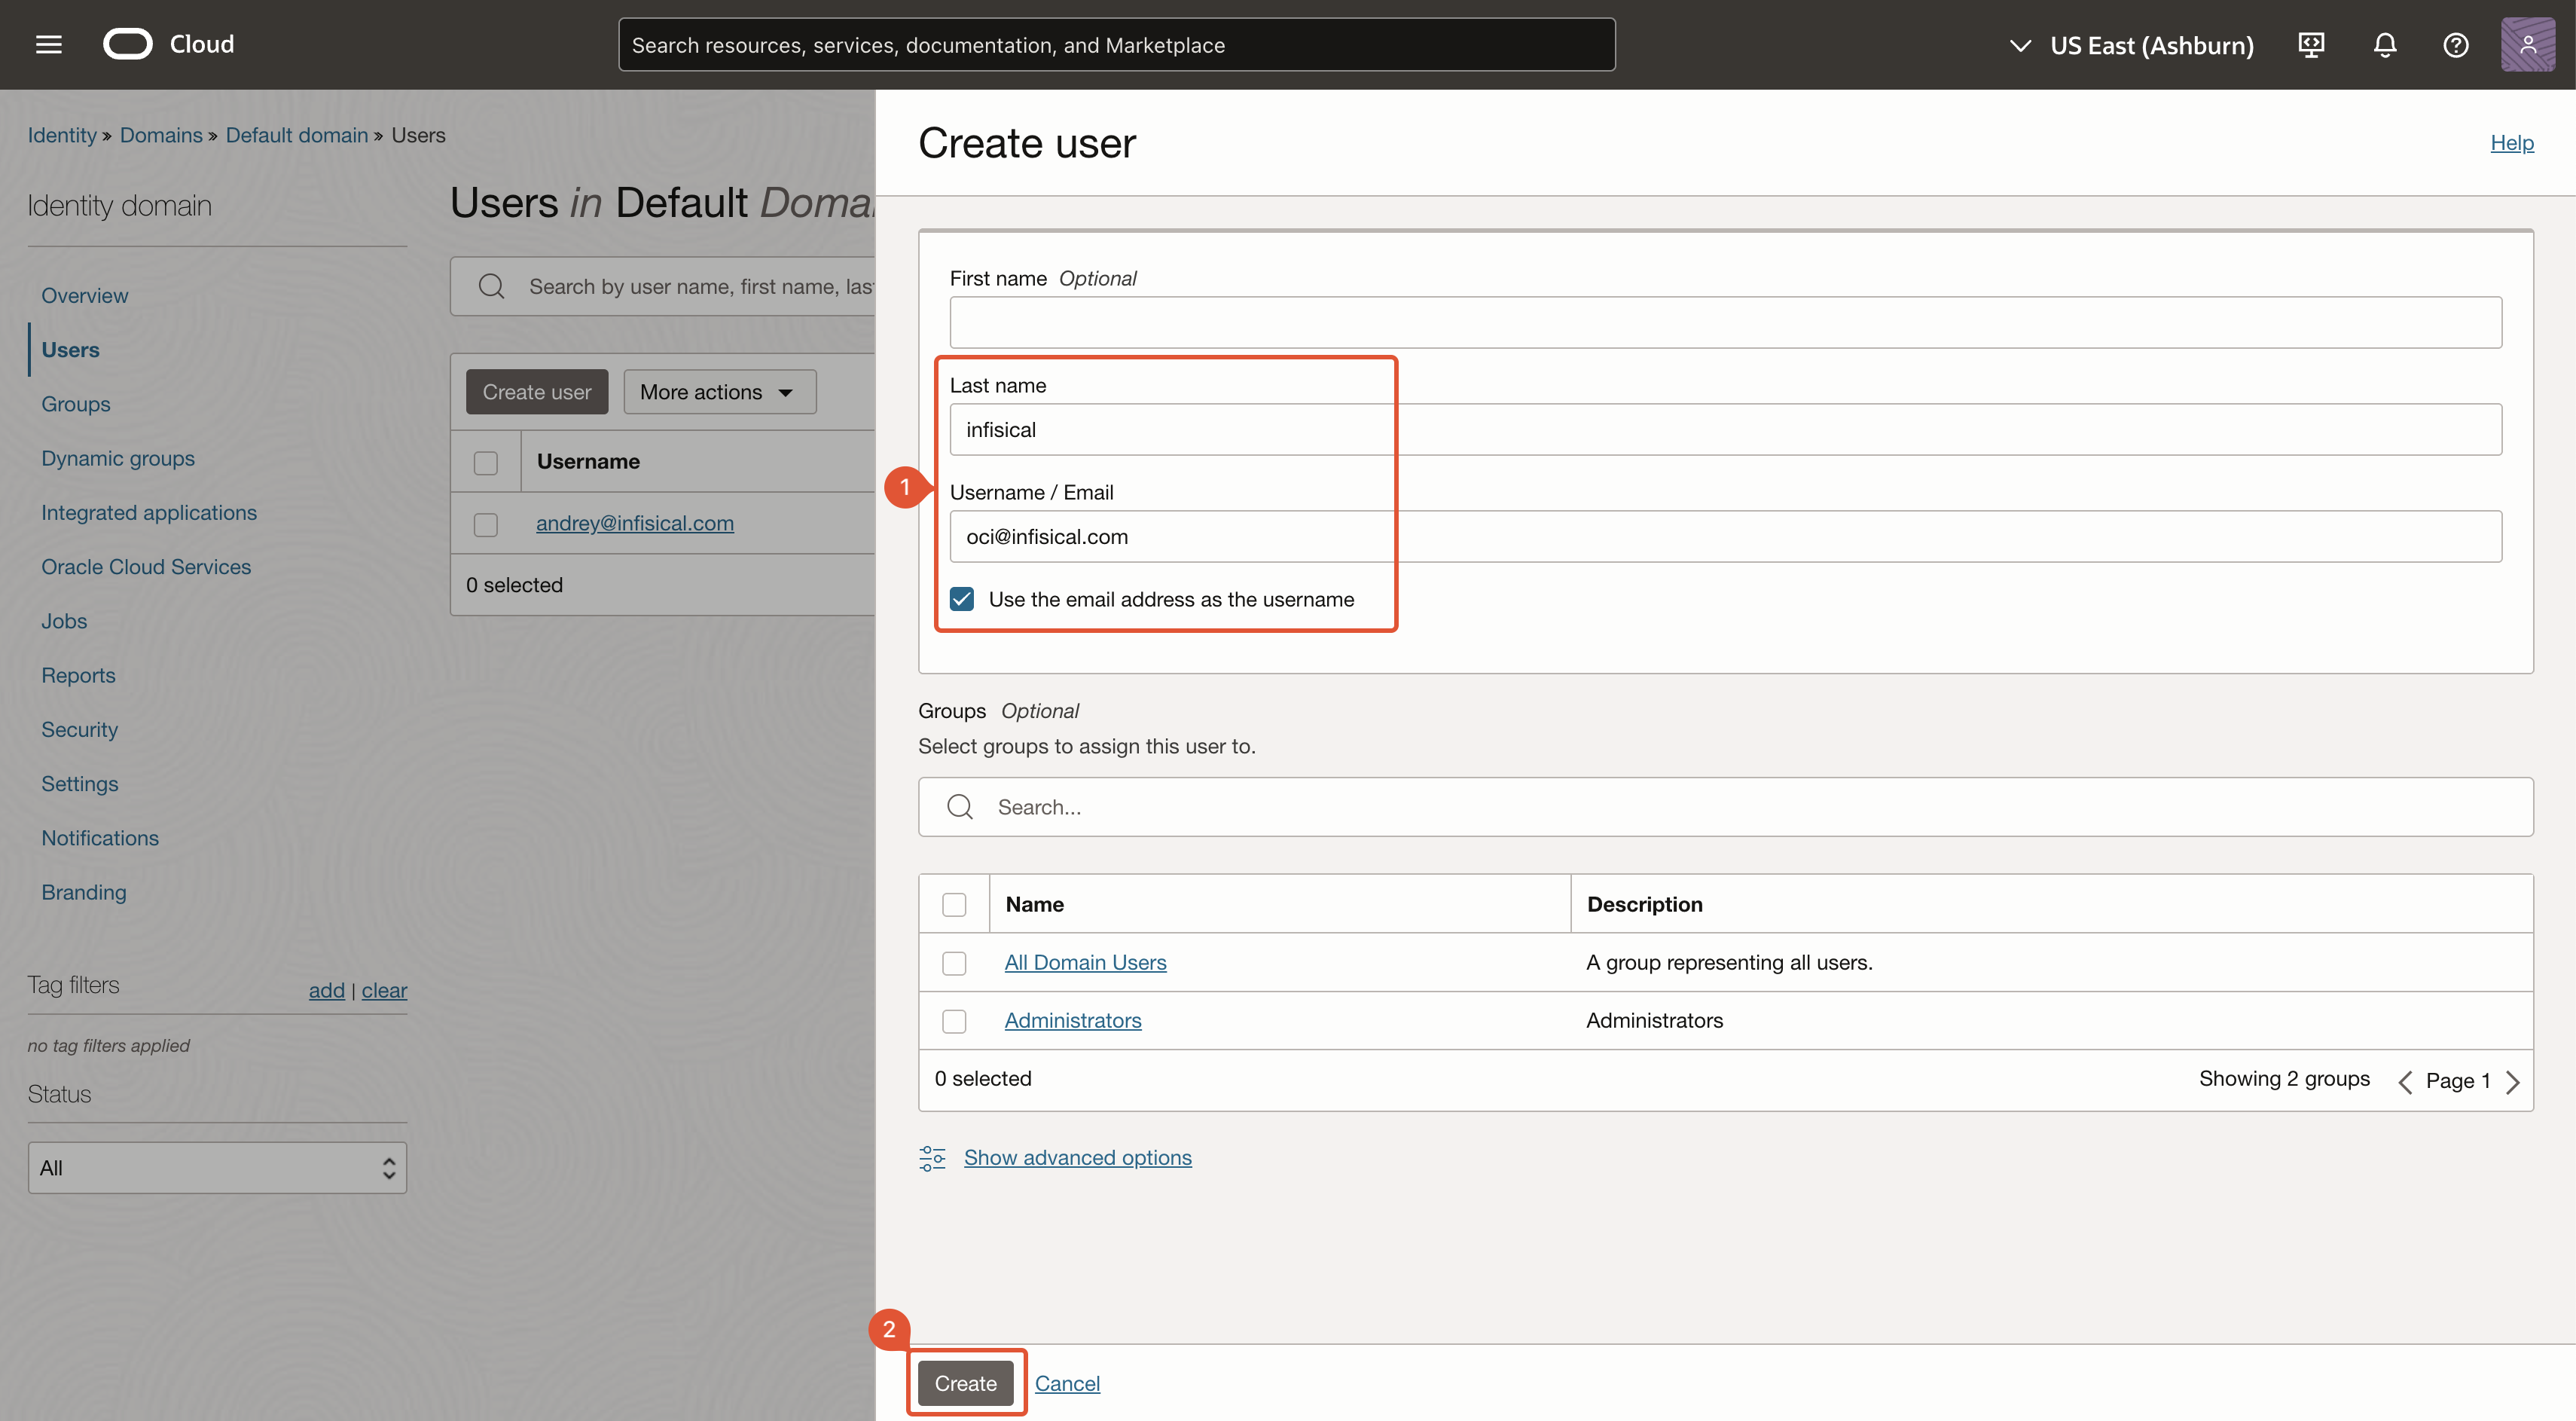
Create OCI User
Navigate to 'API keys'
After you’ve created a user, you’ll be redirected to the user’s page. Navigate to ‘API keys’.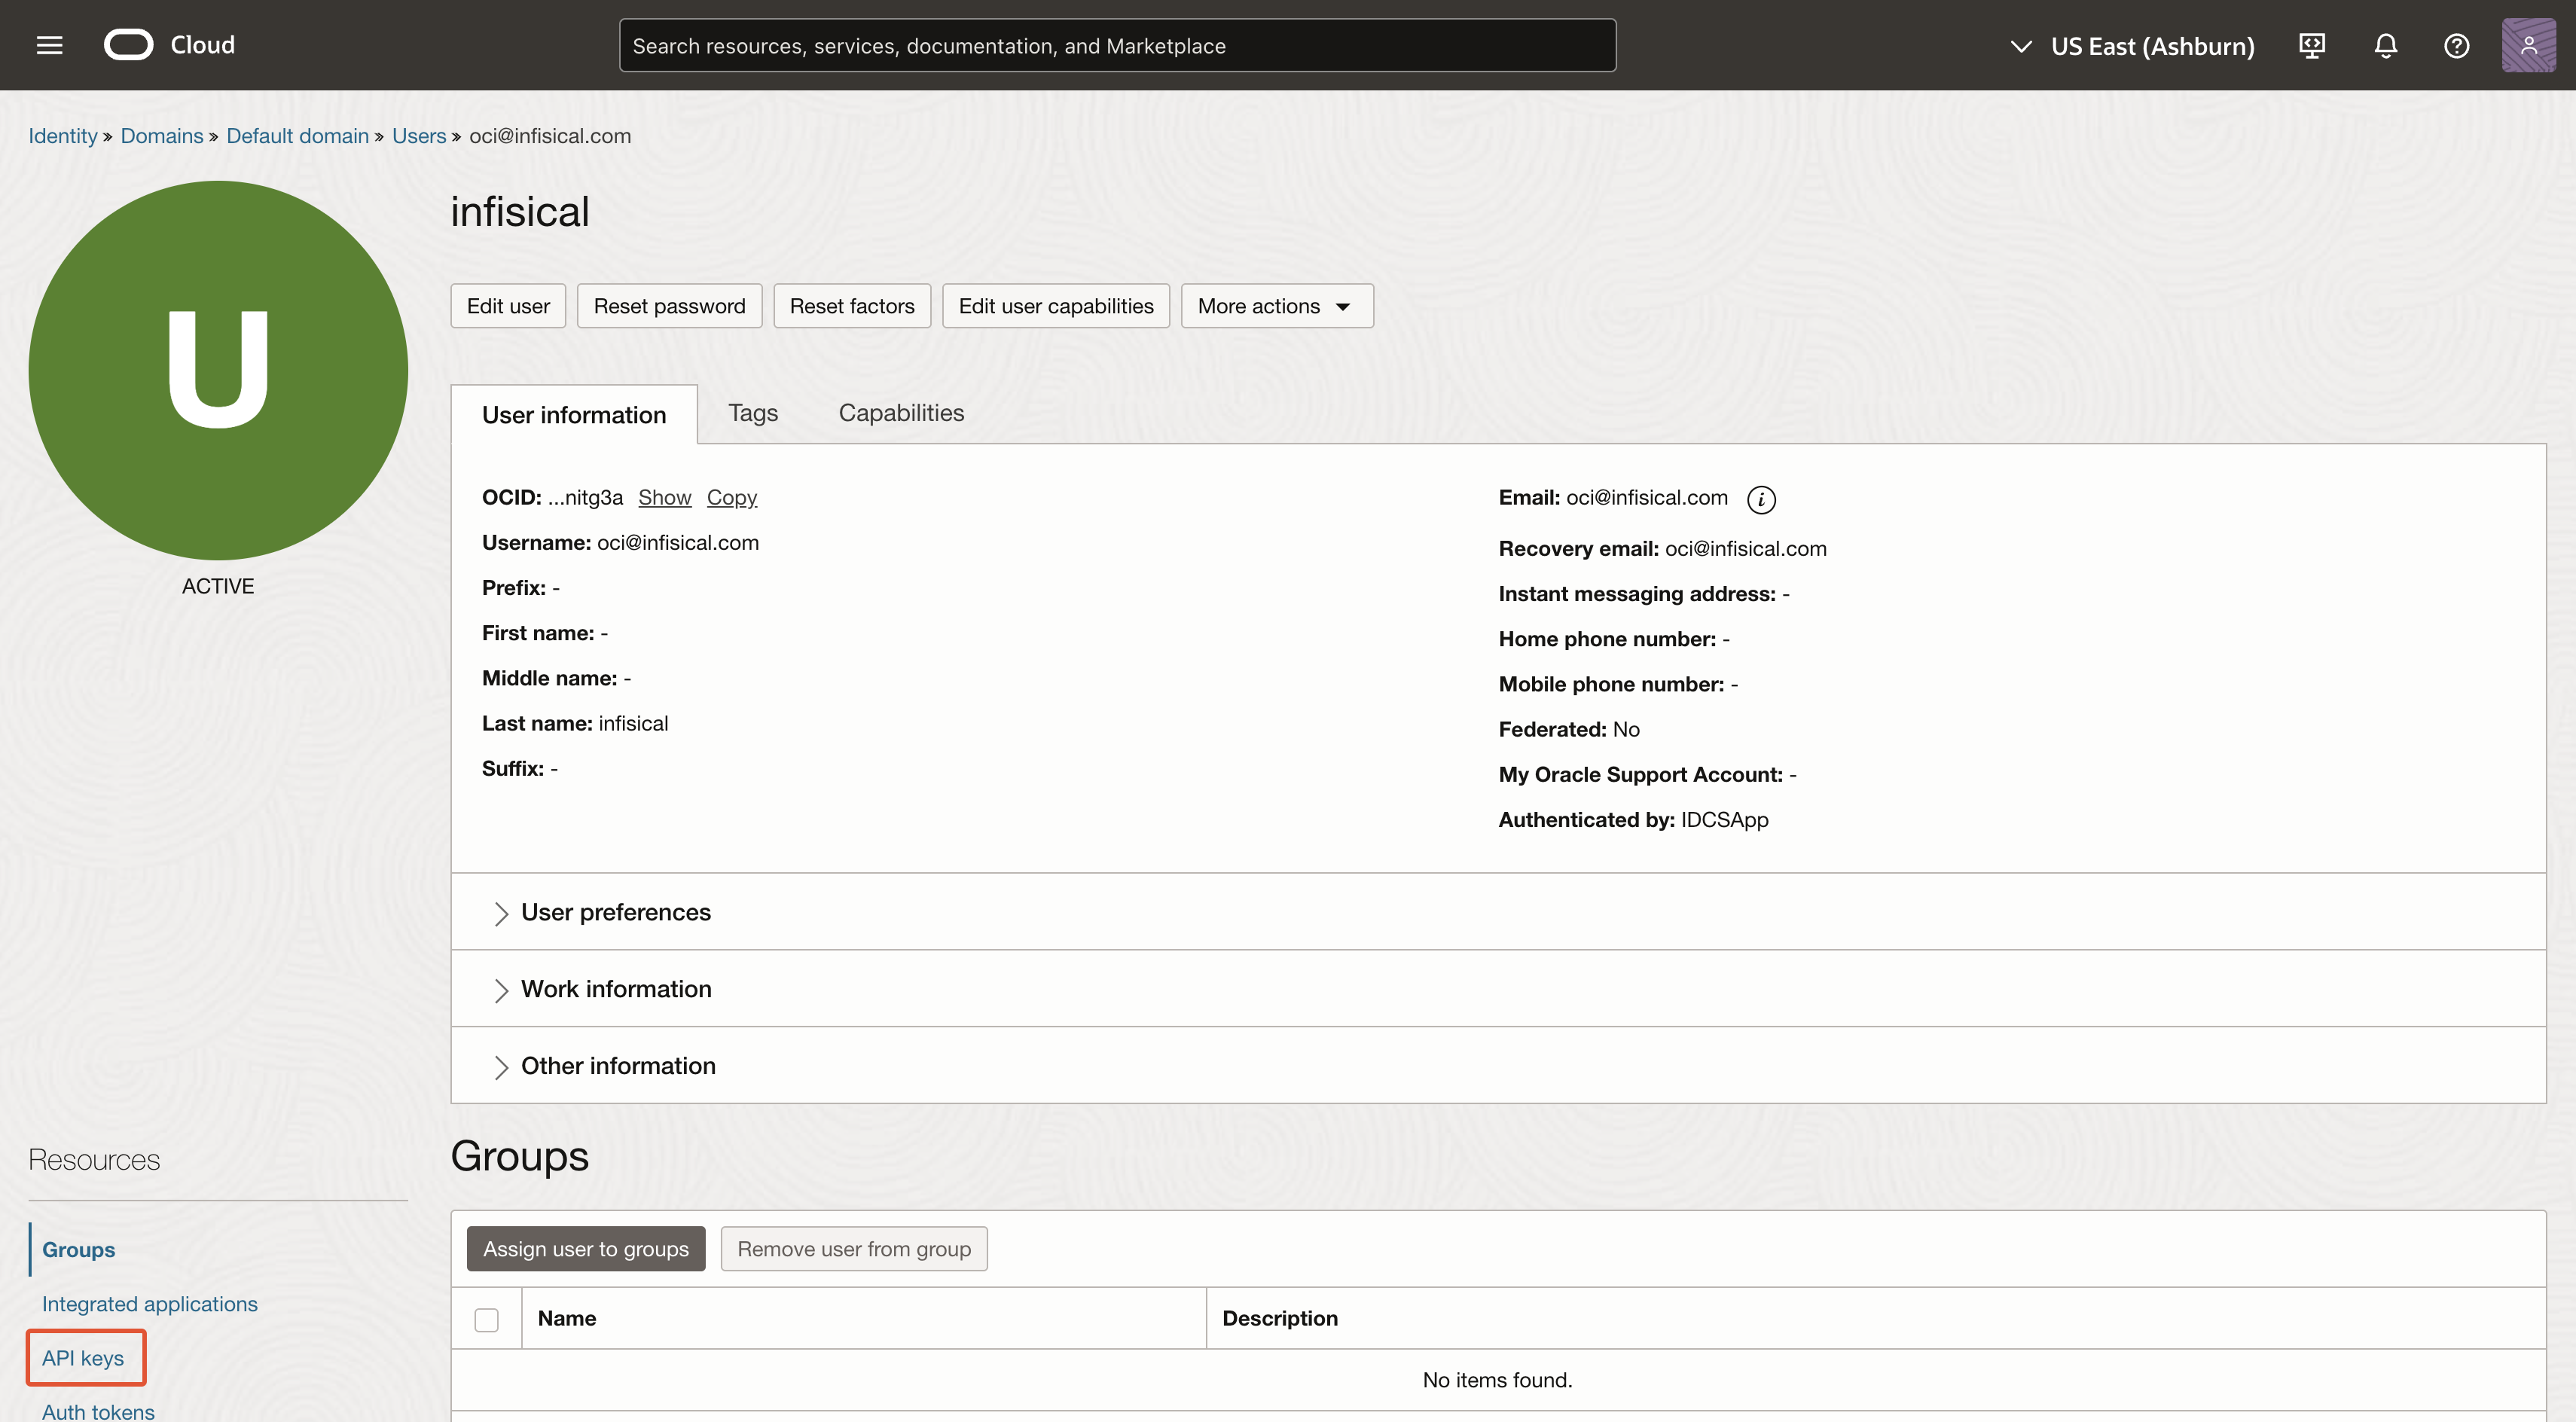
Add API key
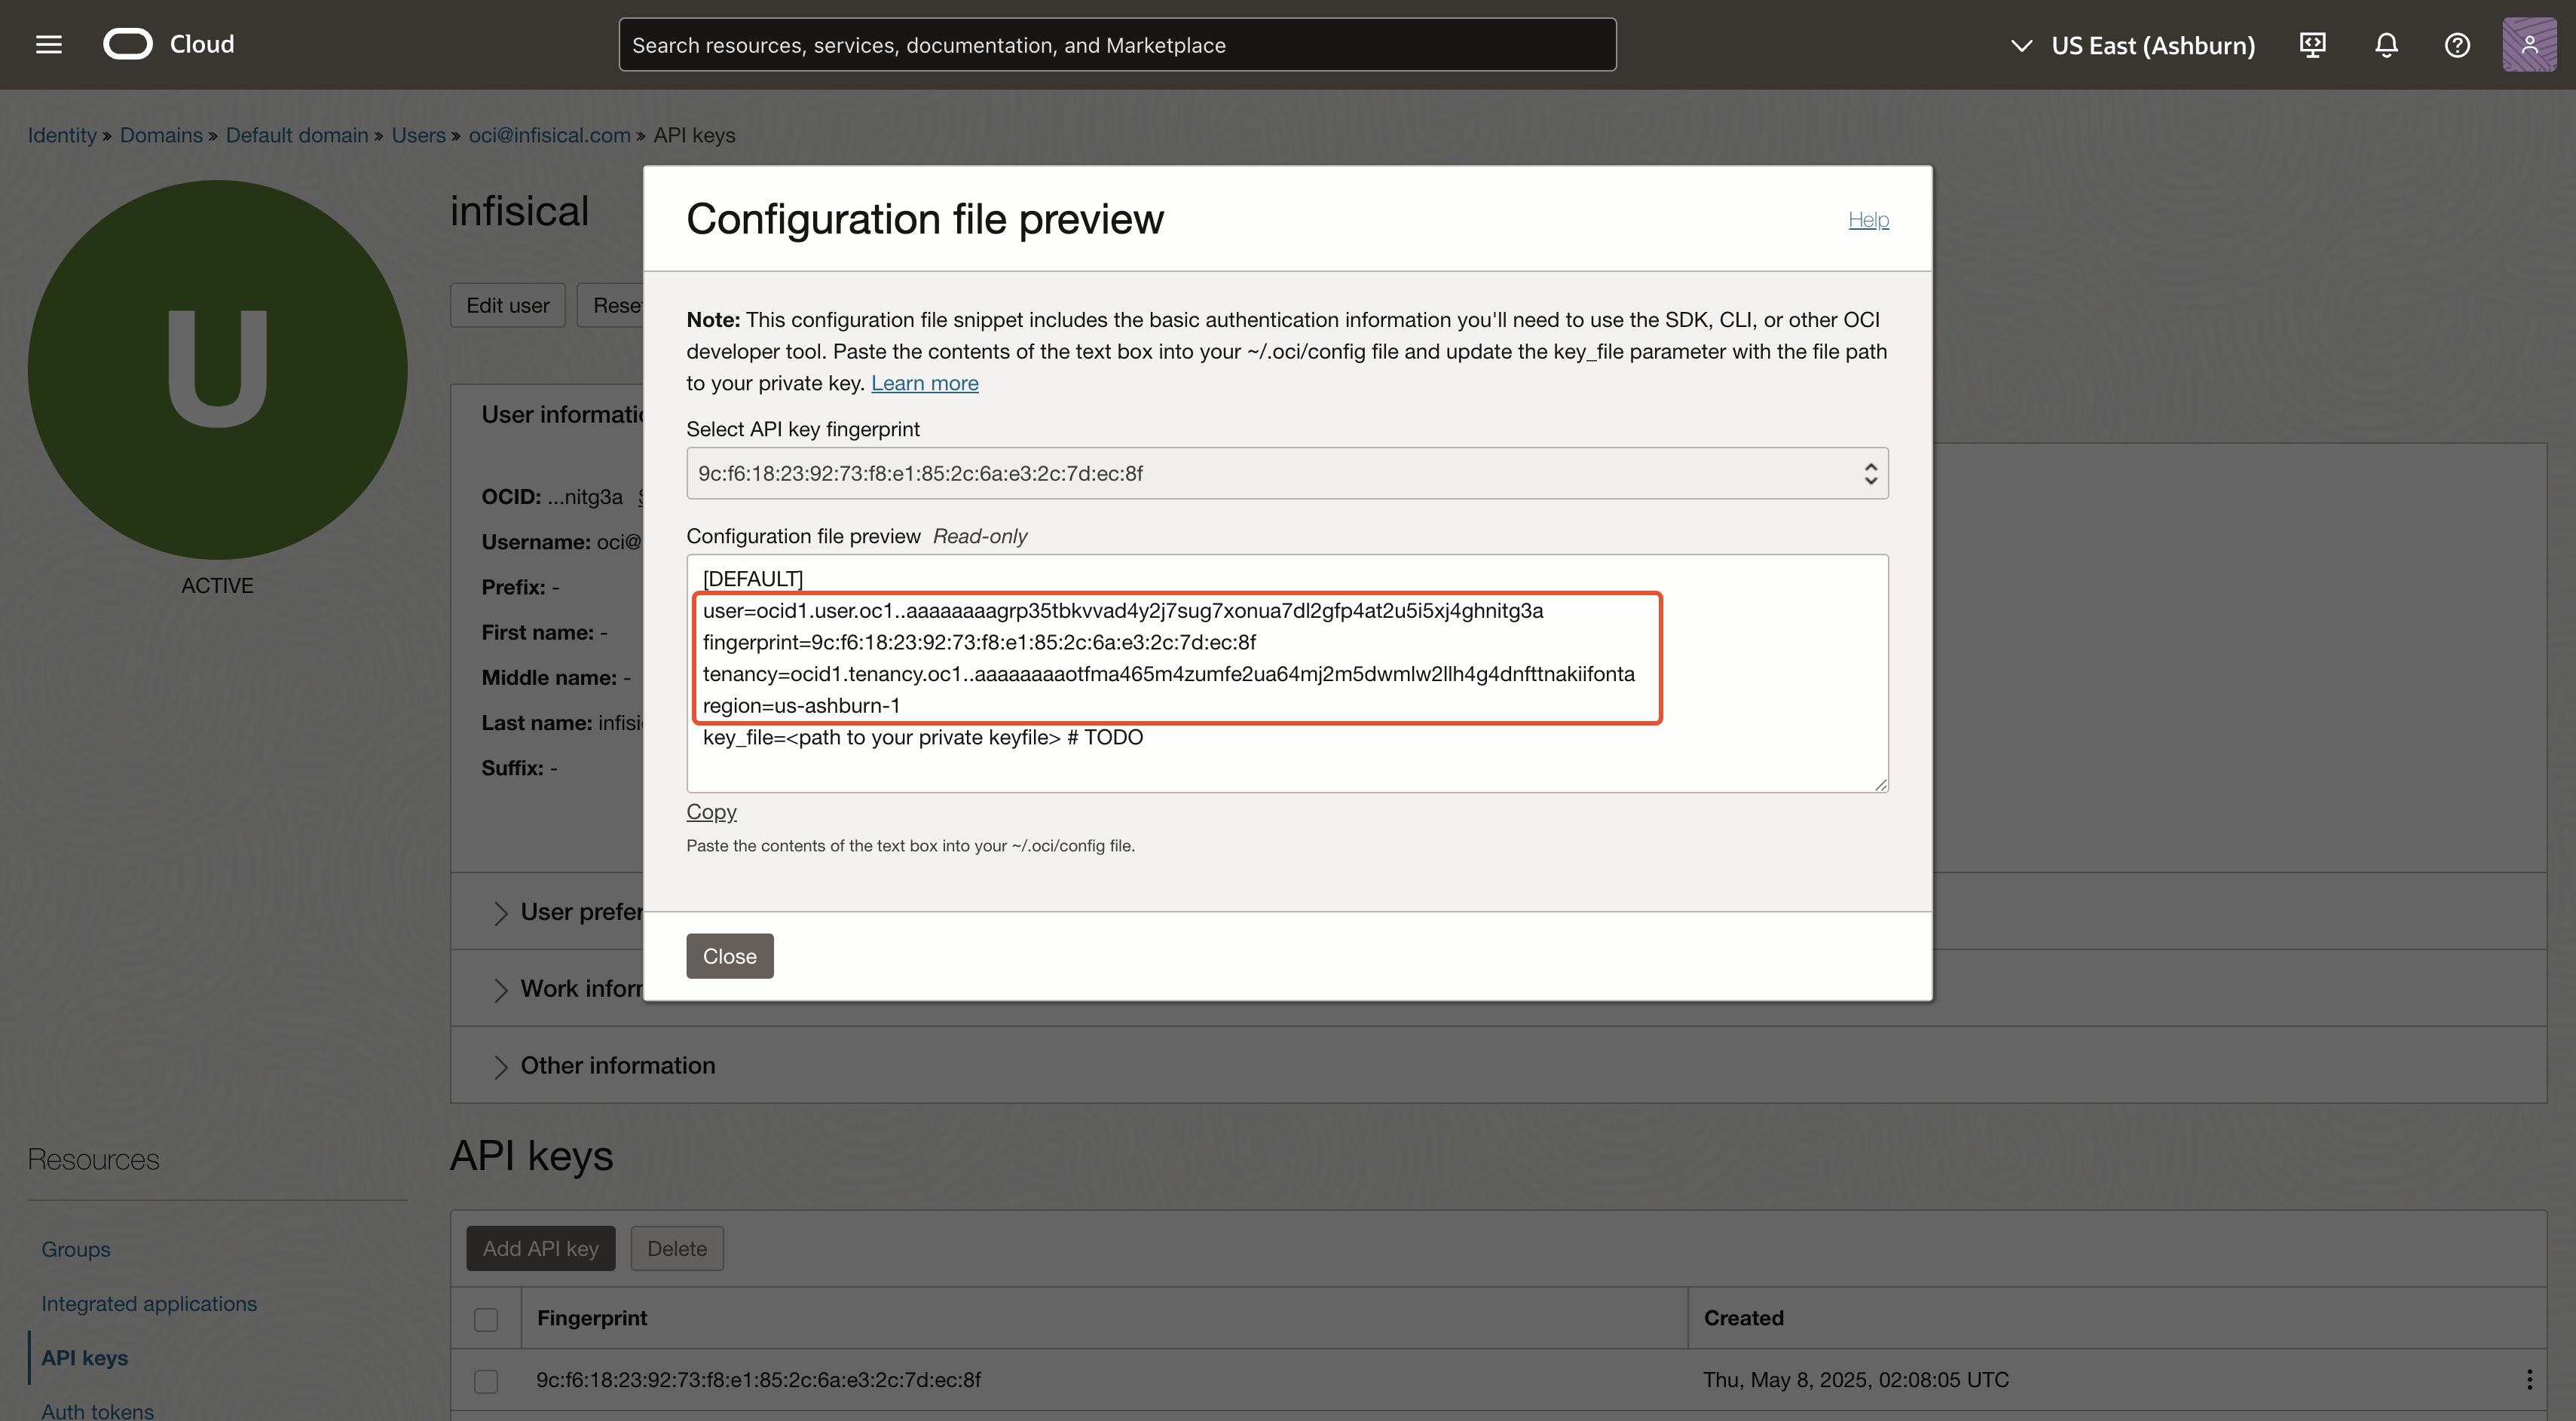
Click on ‘Add API key’ and then download or import the private key. After you’ve obtained the private key, click ‘Add’.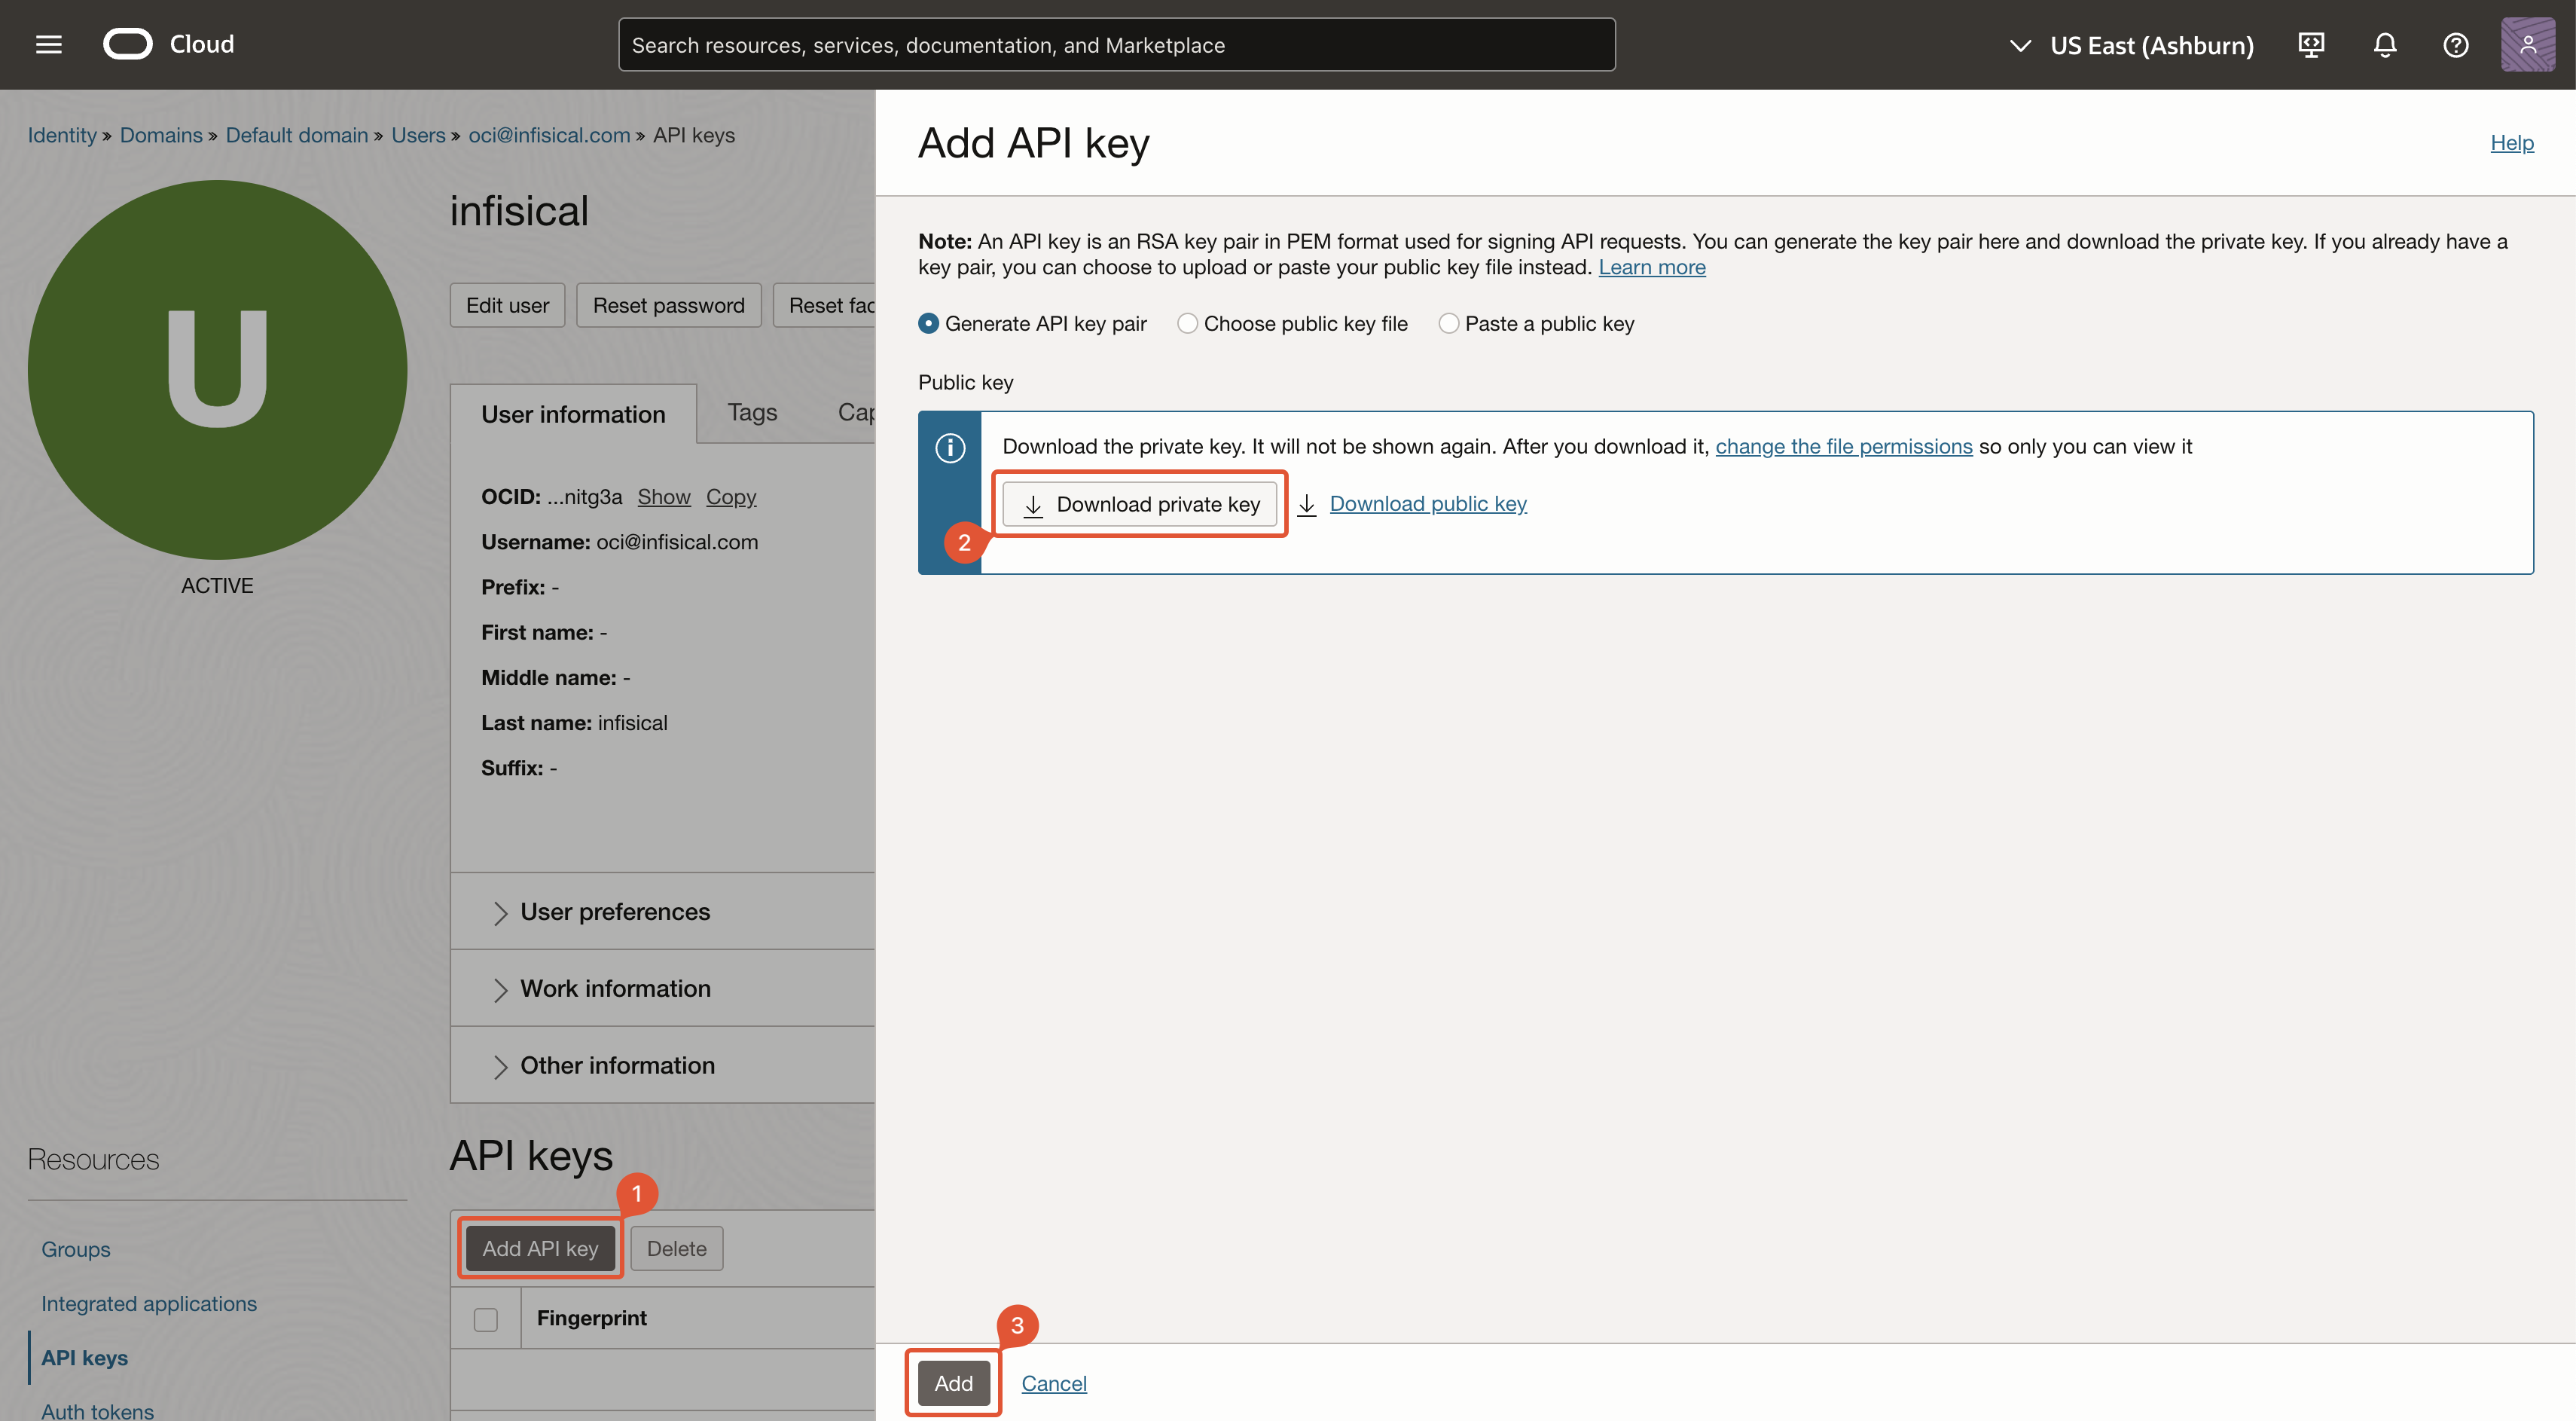
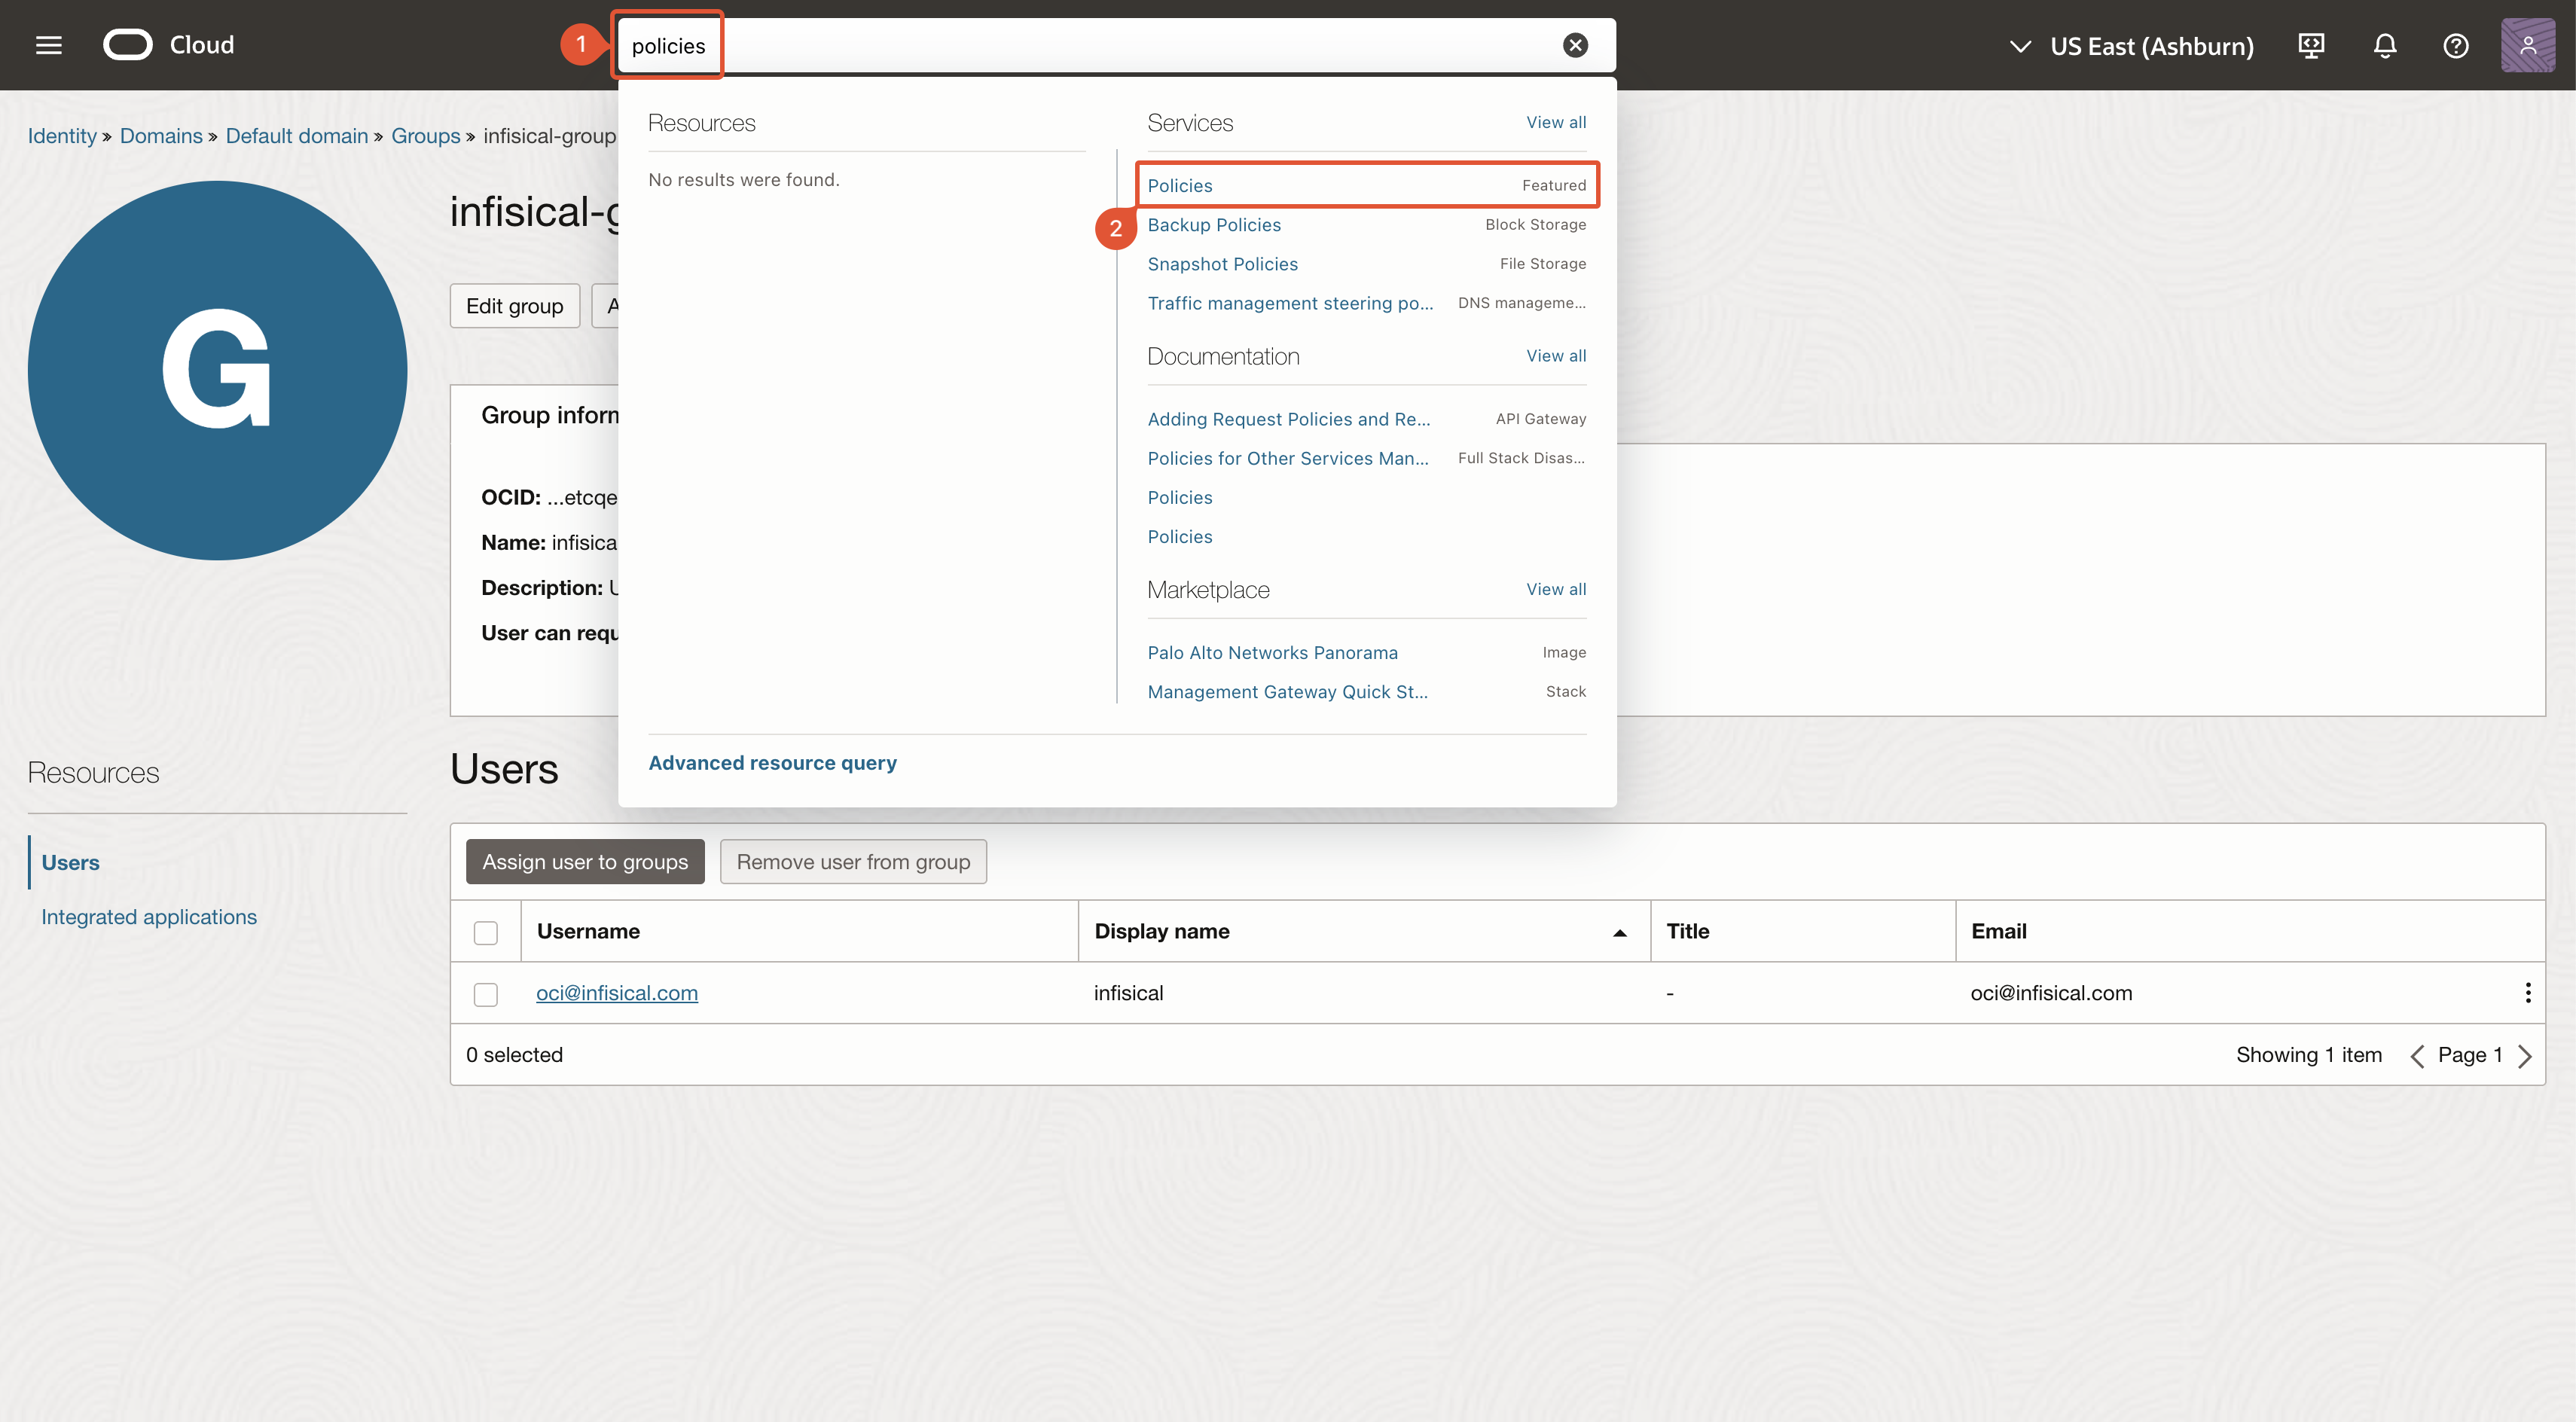
Create OCI Group
Create group
The name and description can be anything. Ensure that you assign the user created in earlier steps to this group.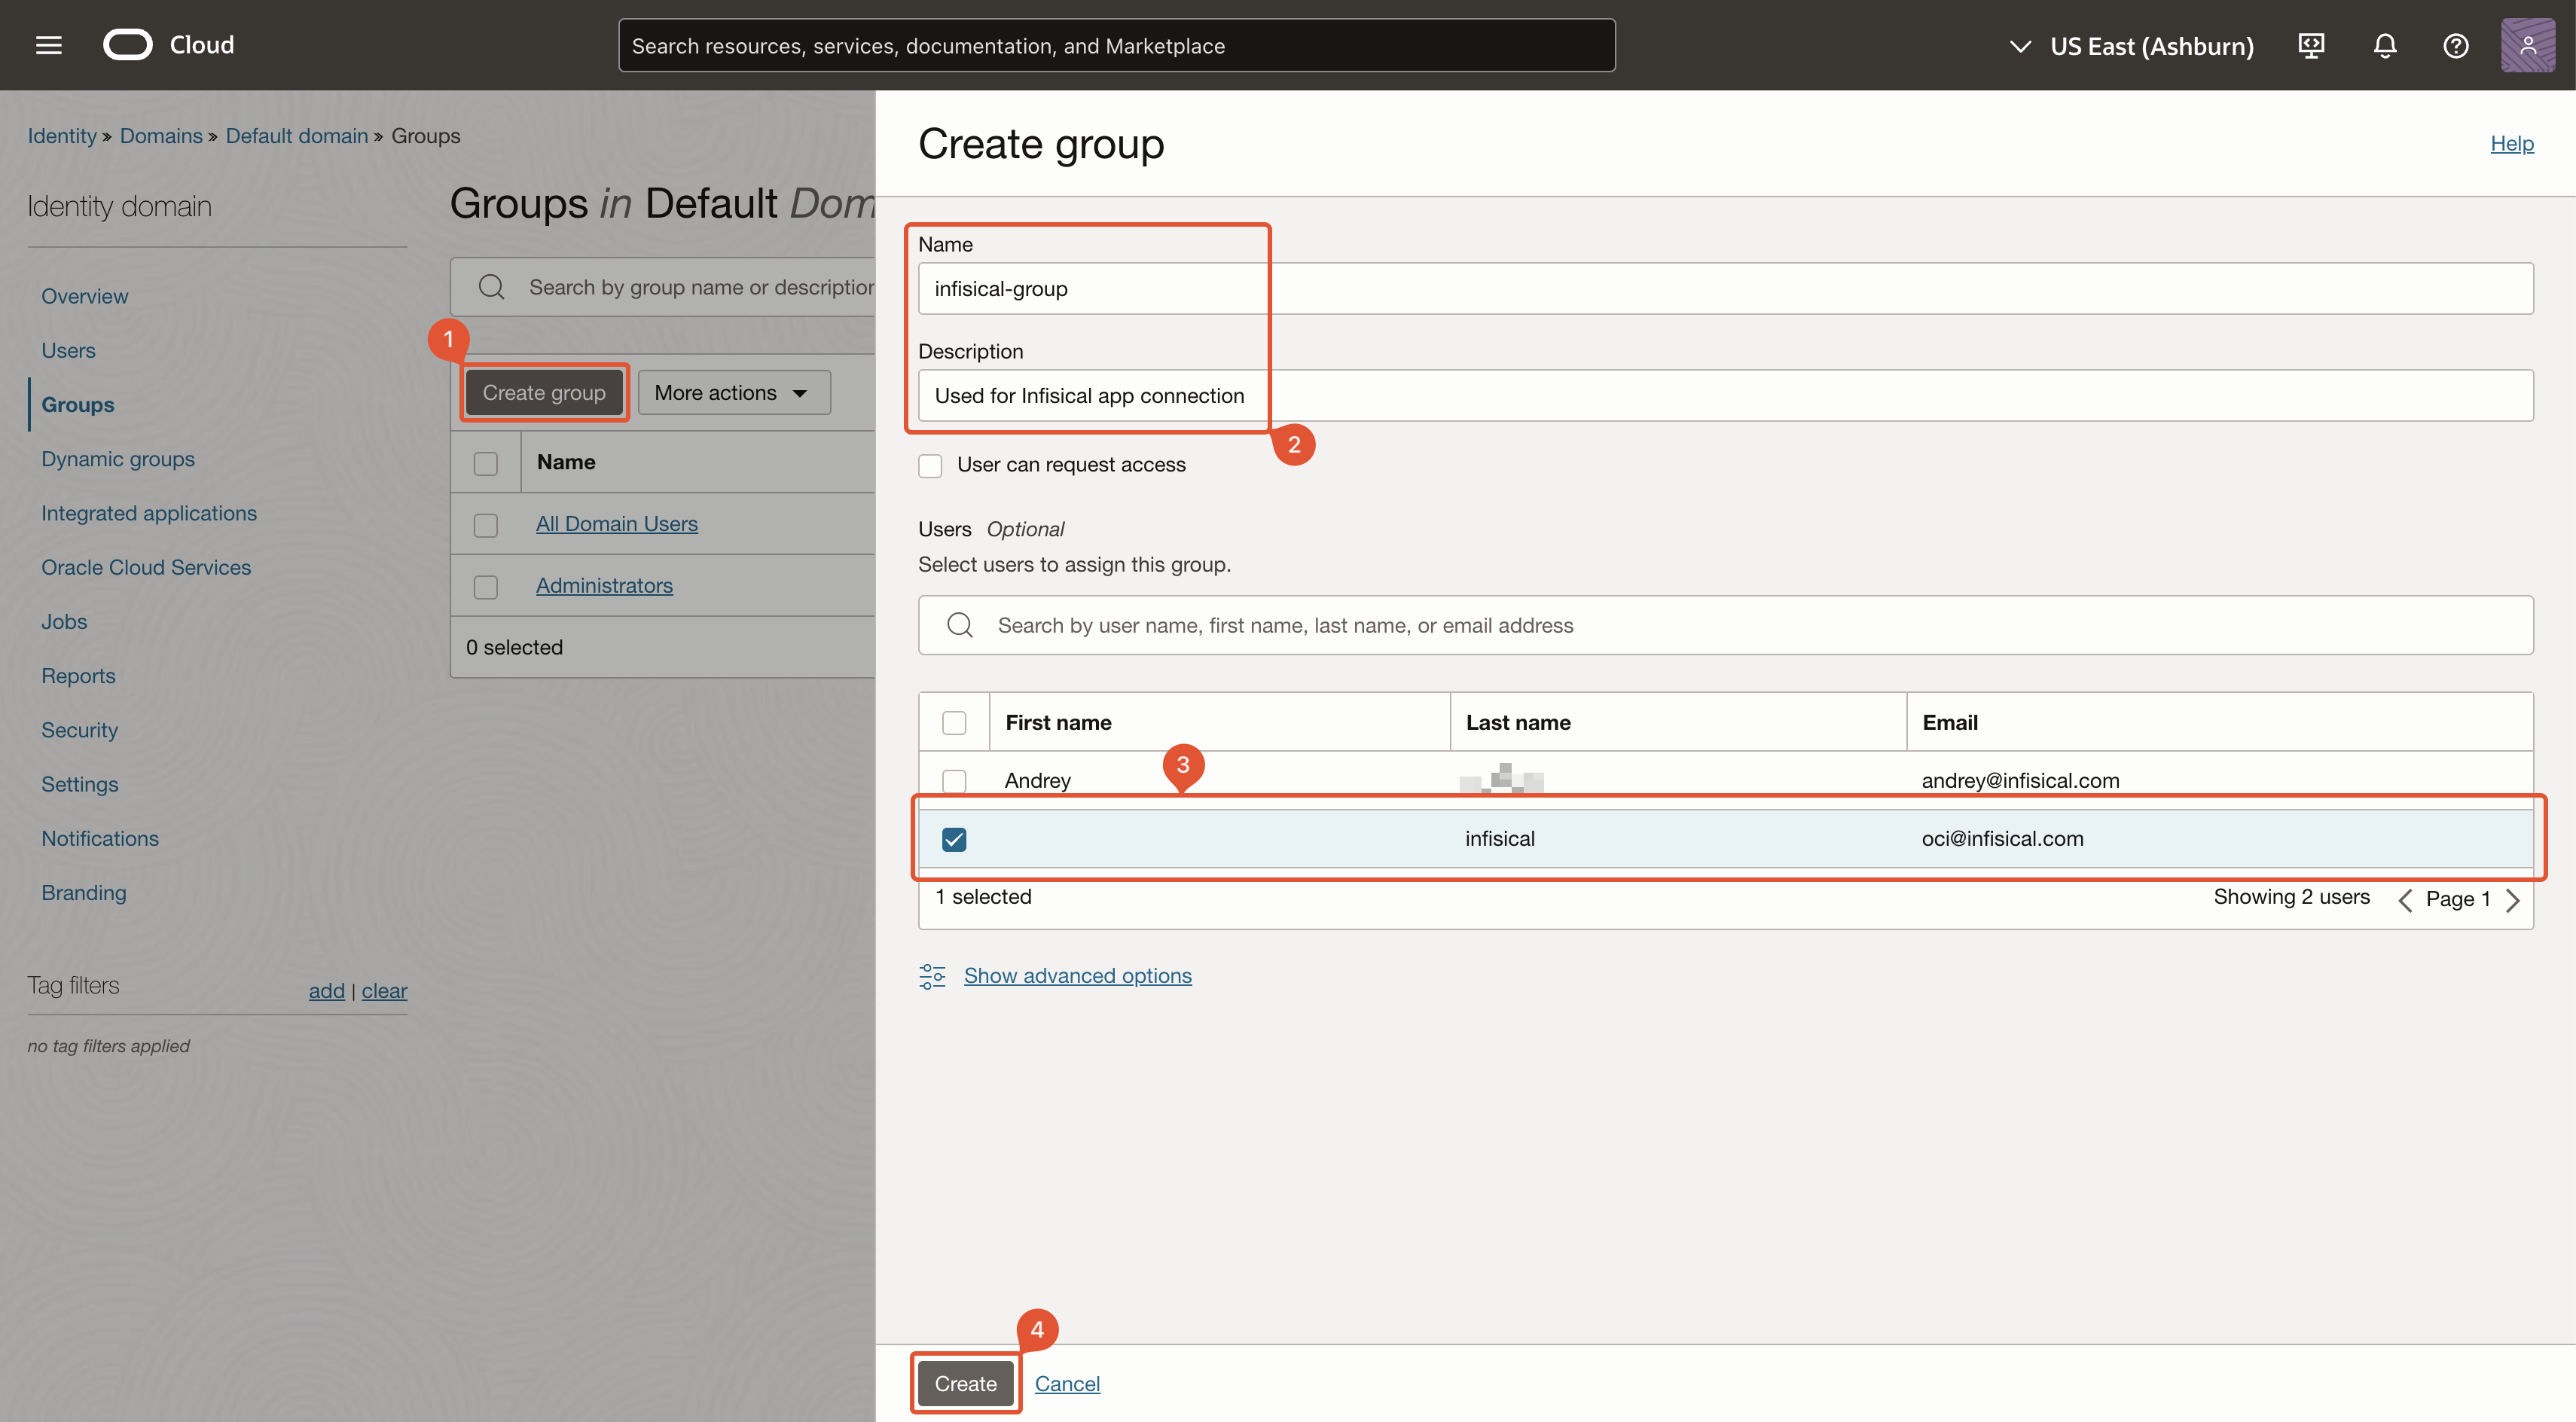
Create OCI Policy
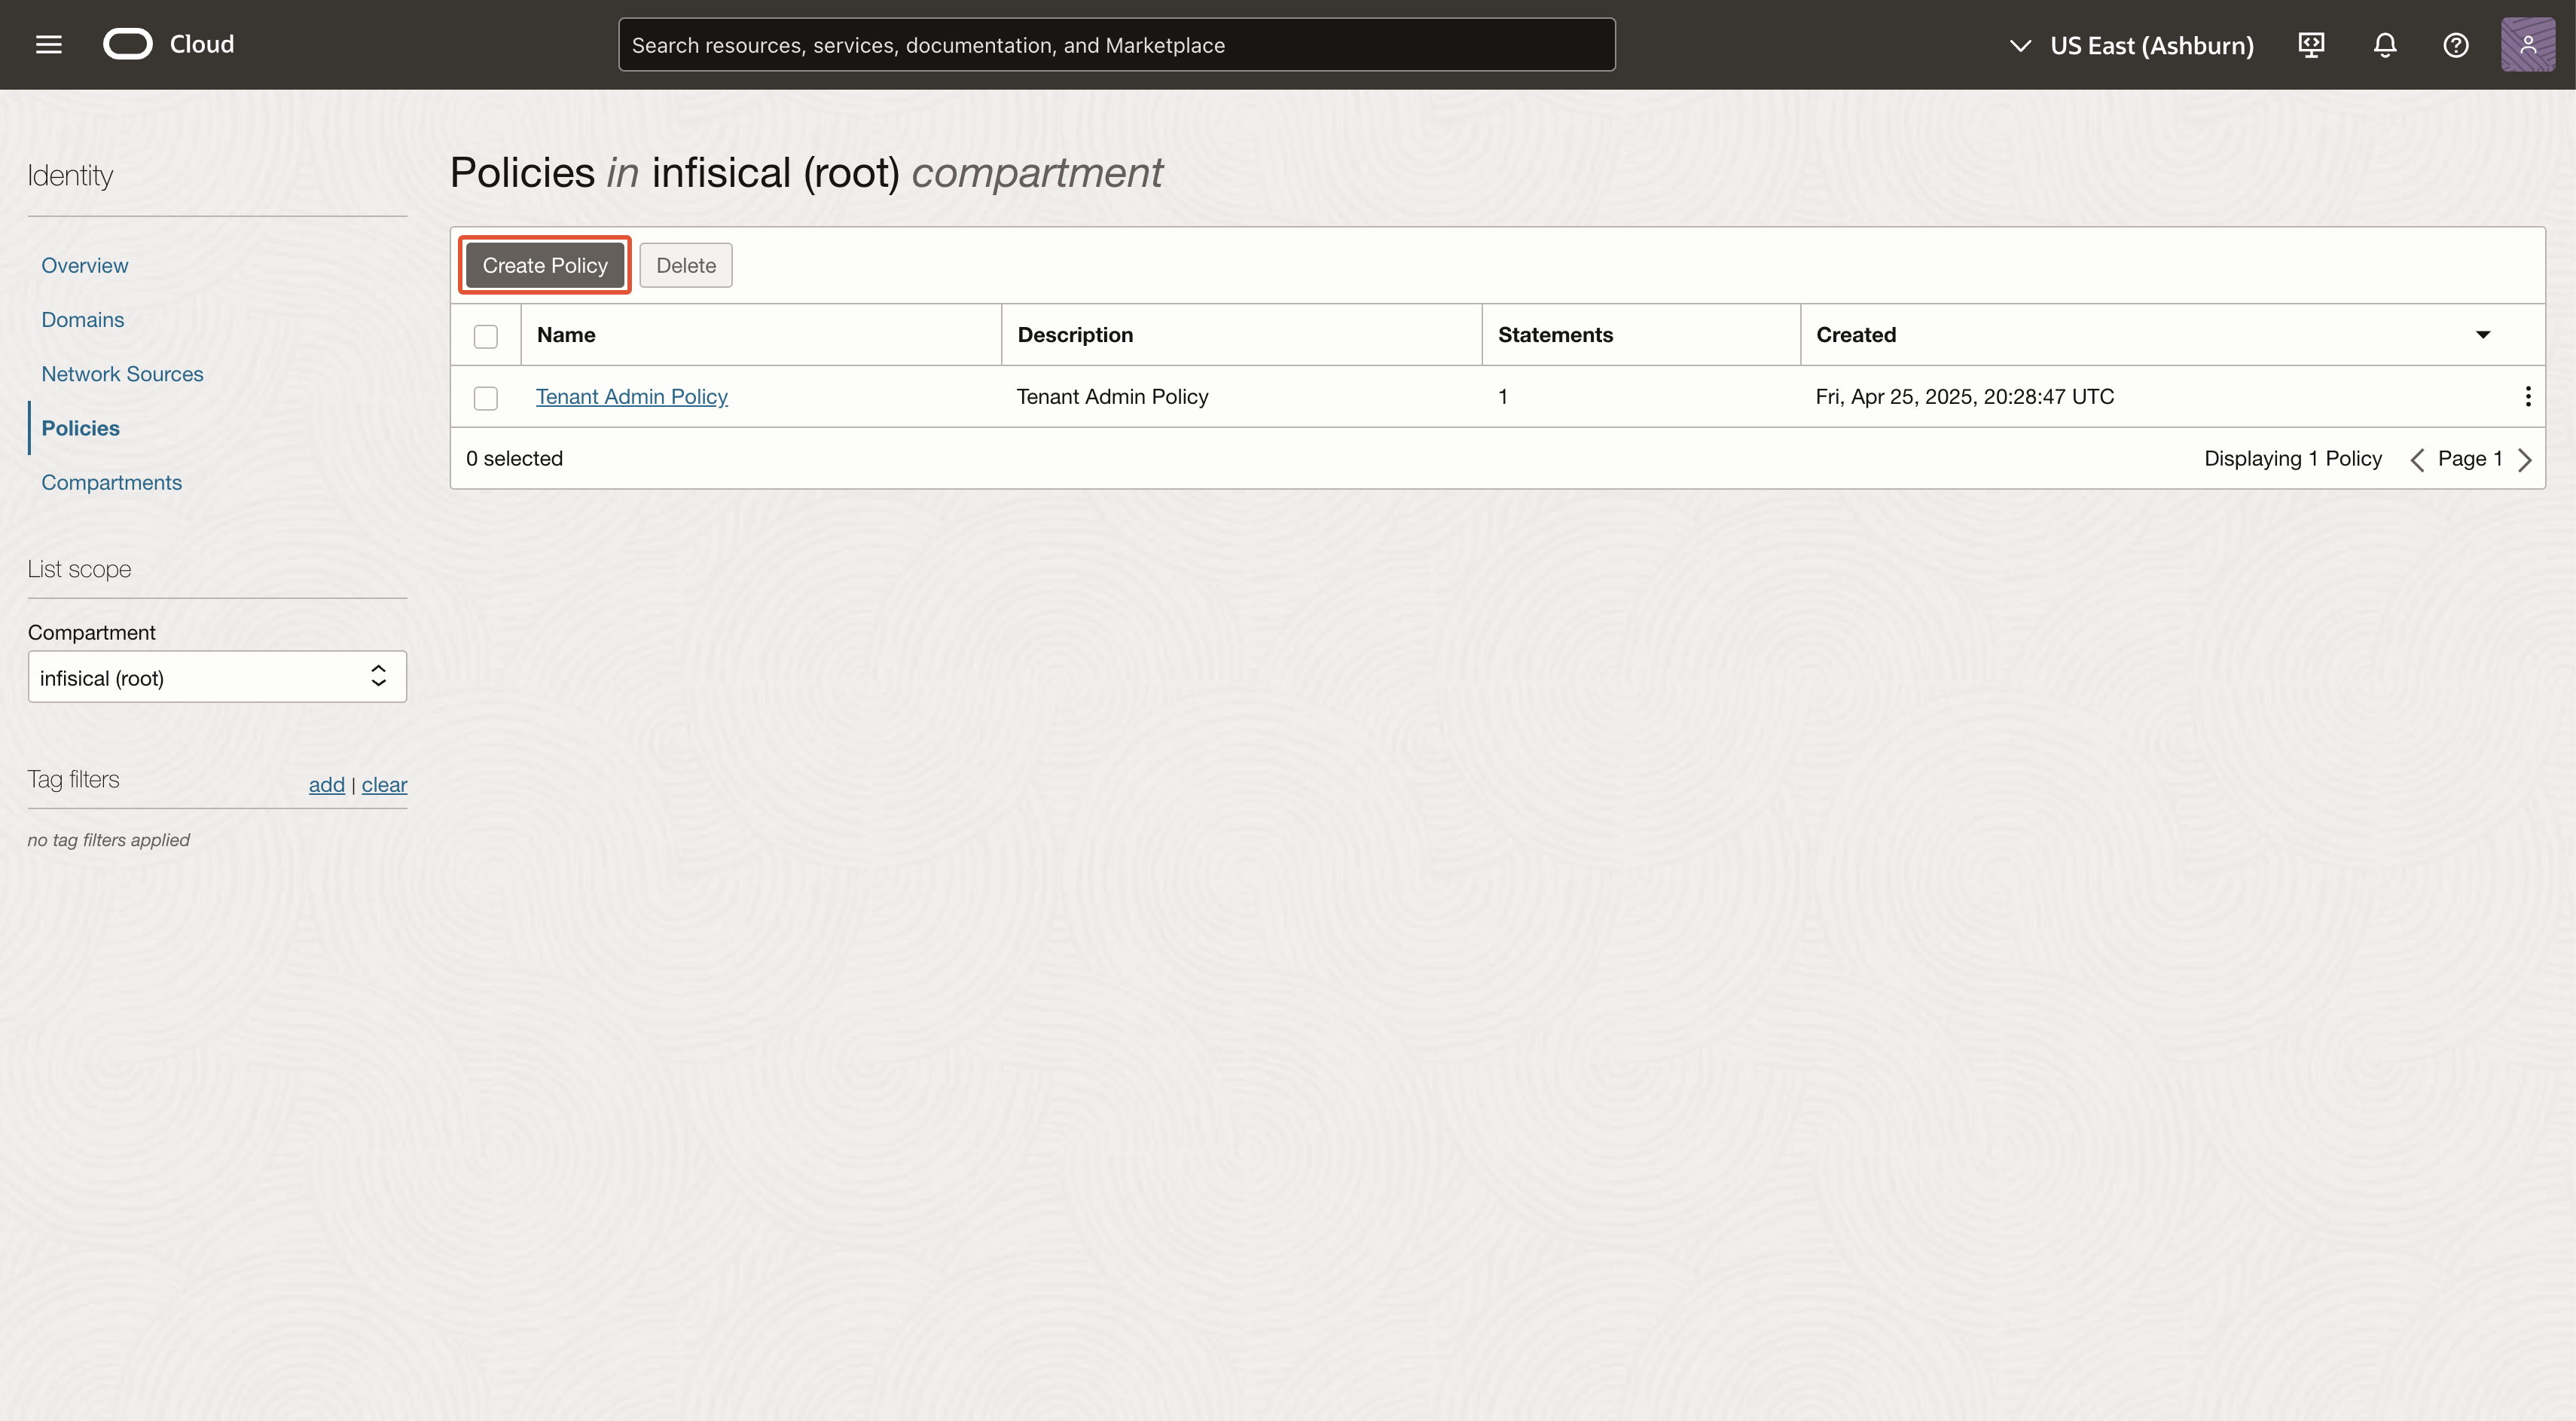
Create policy
The name and description can be anything. Click ‘Show manual editor’ and paste in the policy rules relevant to your task: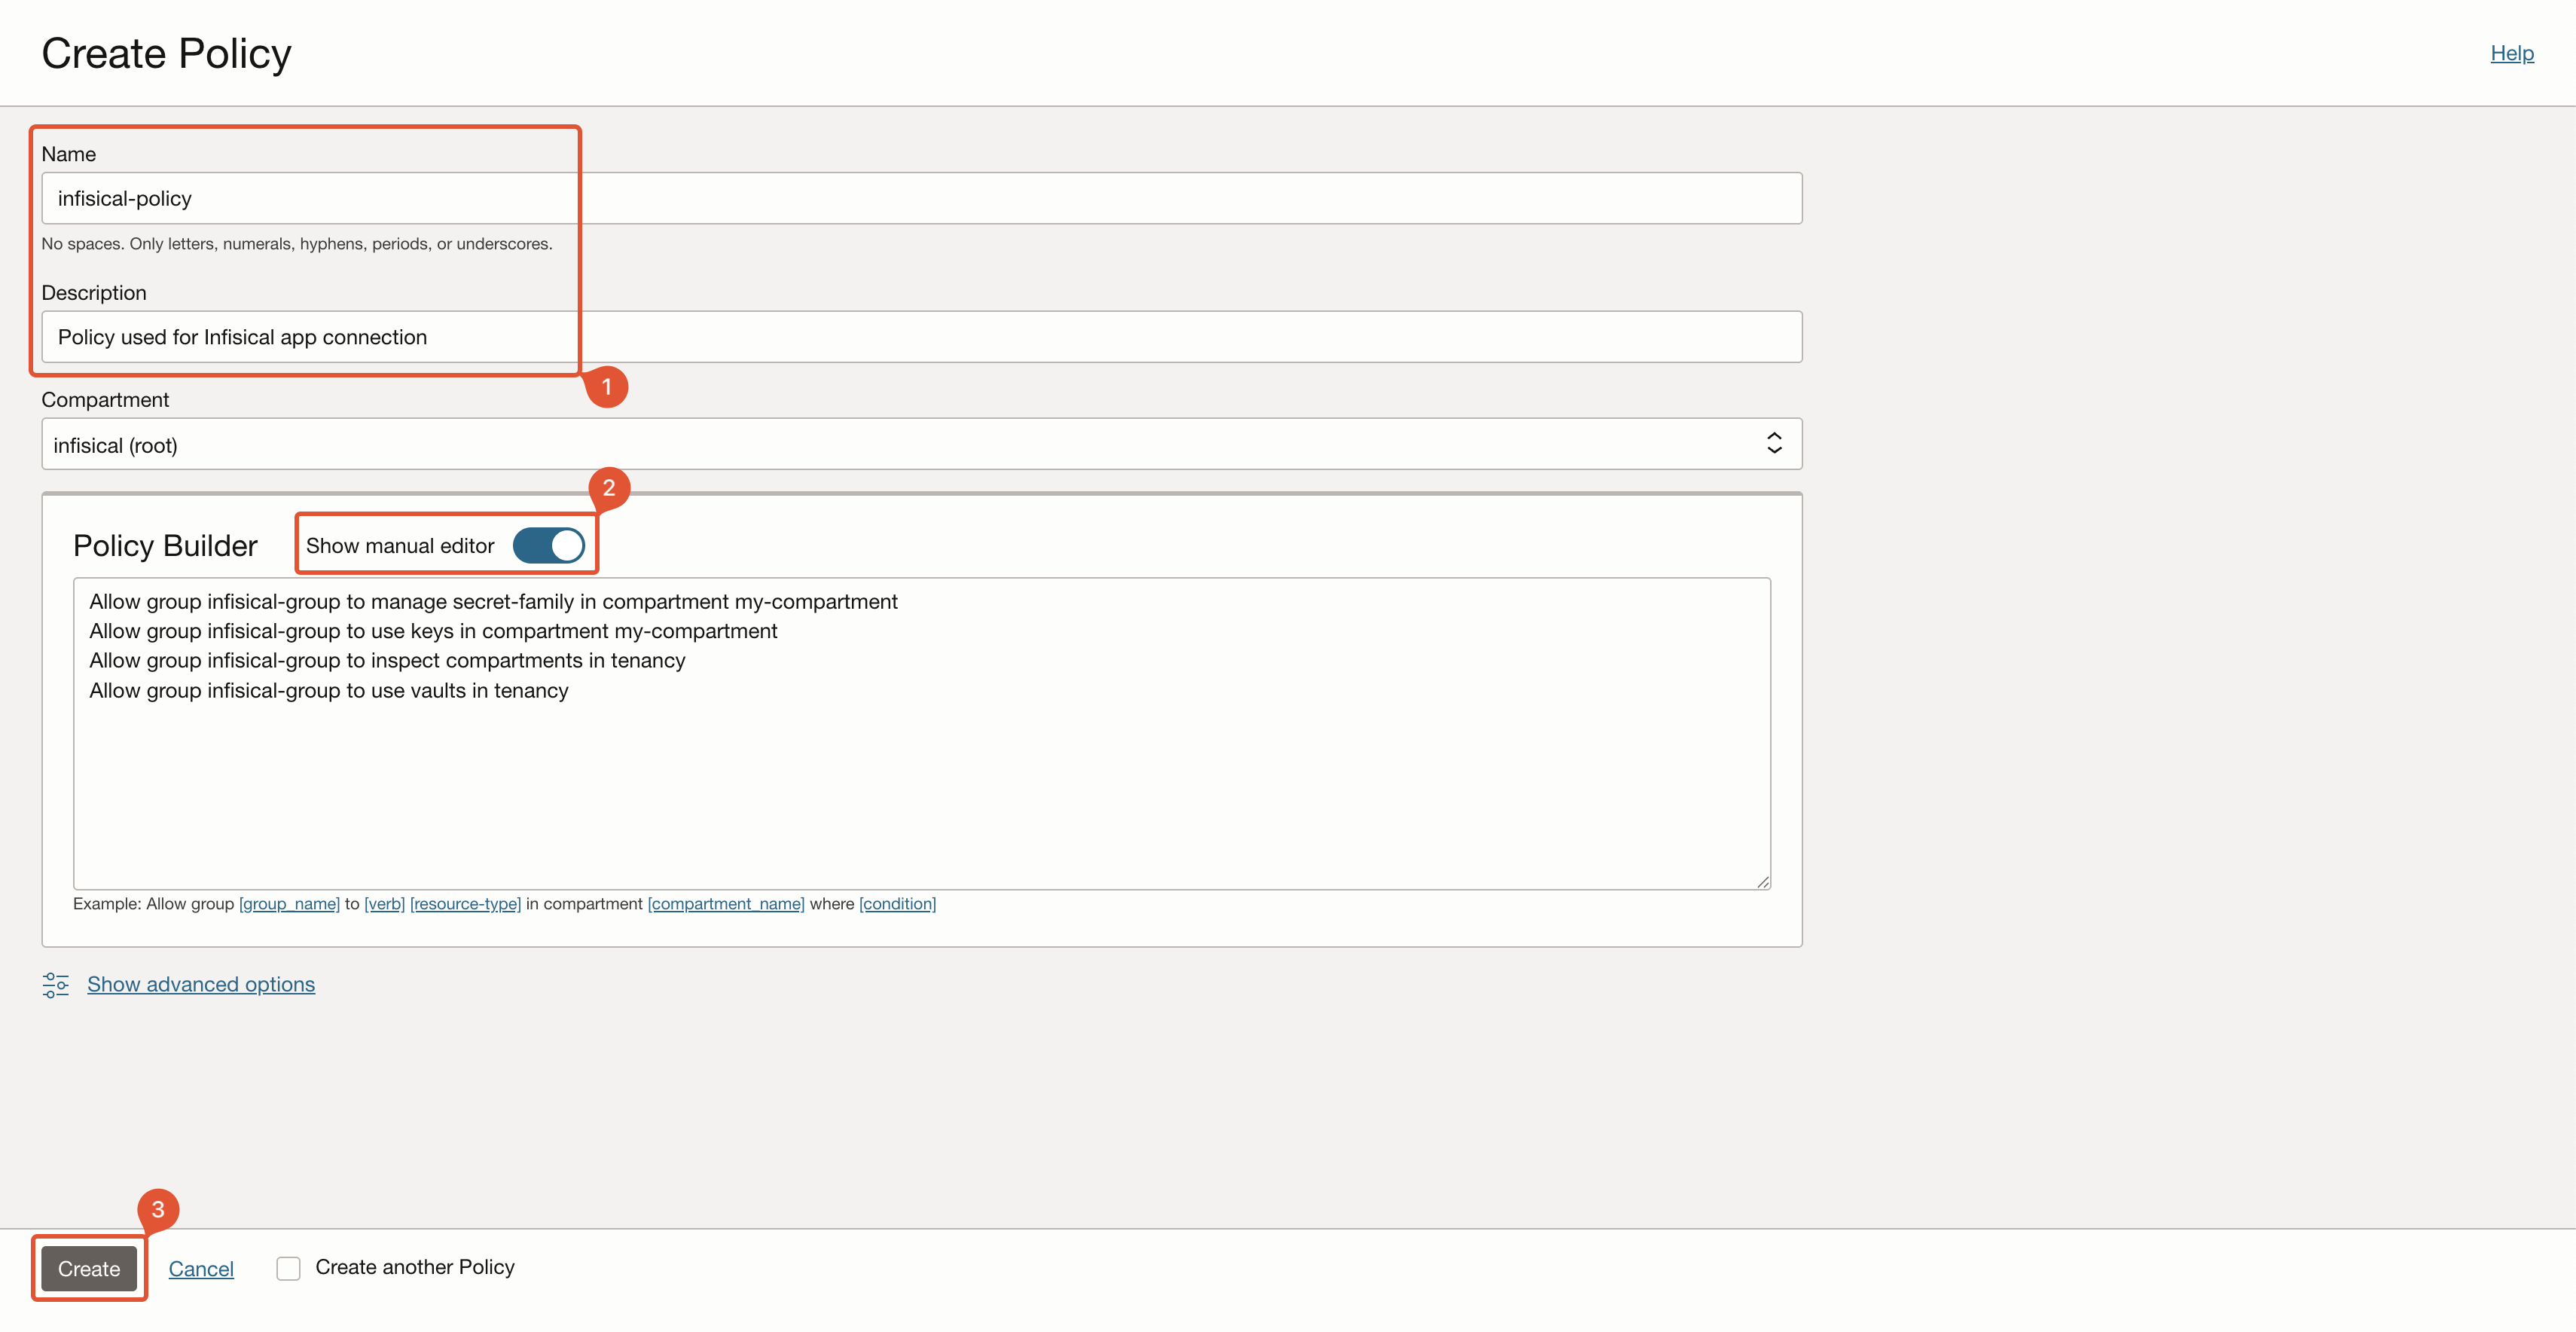
- Secret Sync
- Group Name: The name of the group you created in earlier steps.
- Compartment Name: The name of the compartment which has your secrets vault.
compartment <compartment name> with tenancy.You must create this policy on the root compartment, otherwise some functionality may not work.
Create OCI Connection in Infisical
- Infisical UI
- API
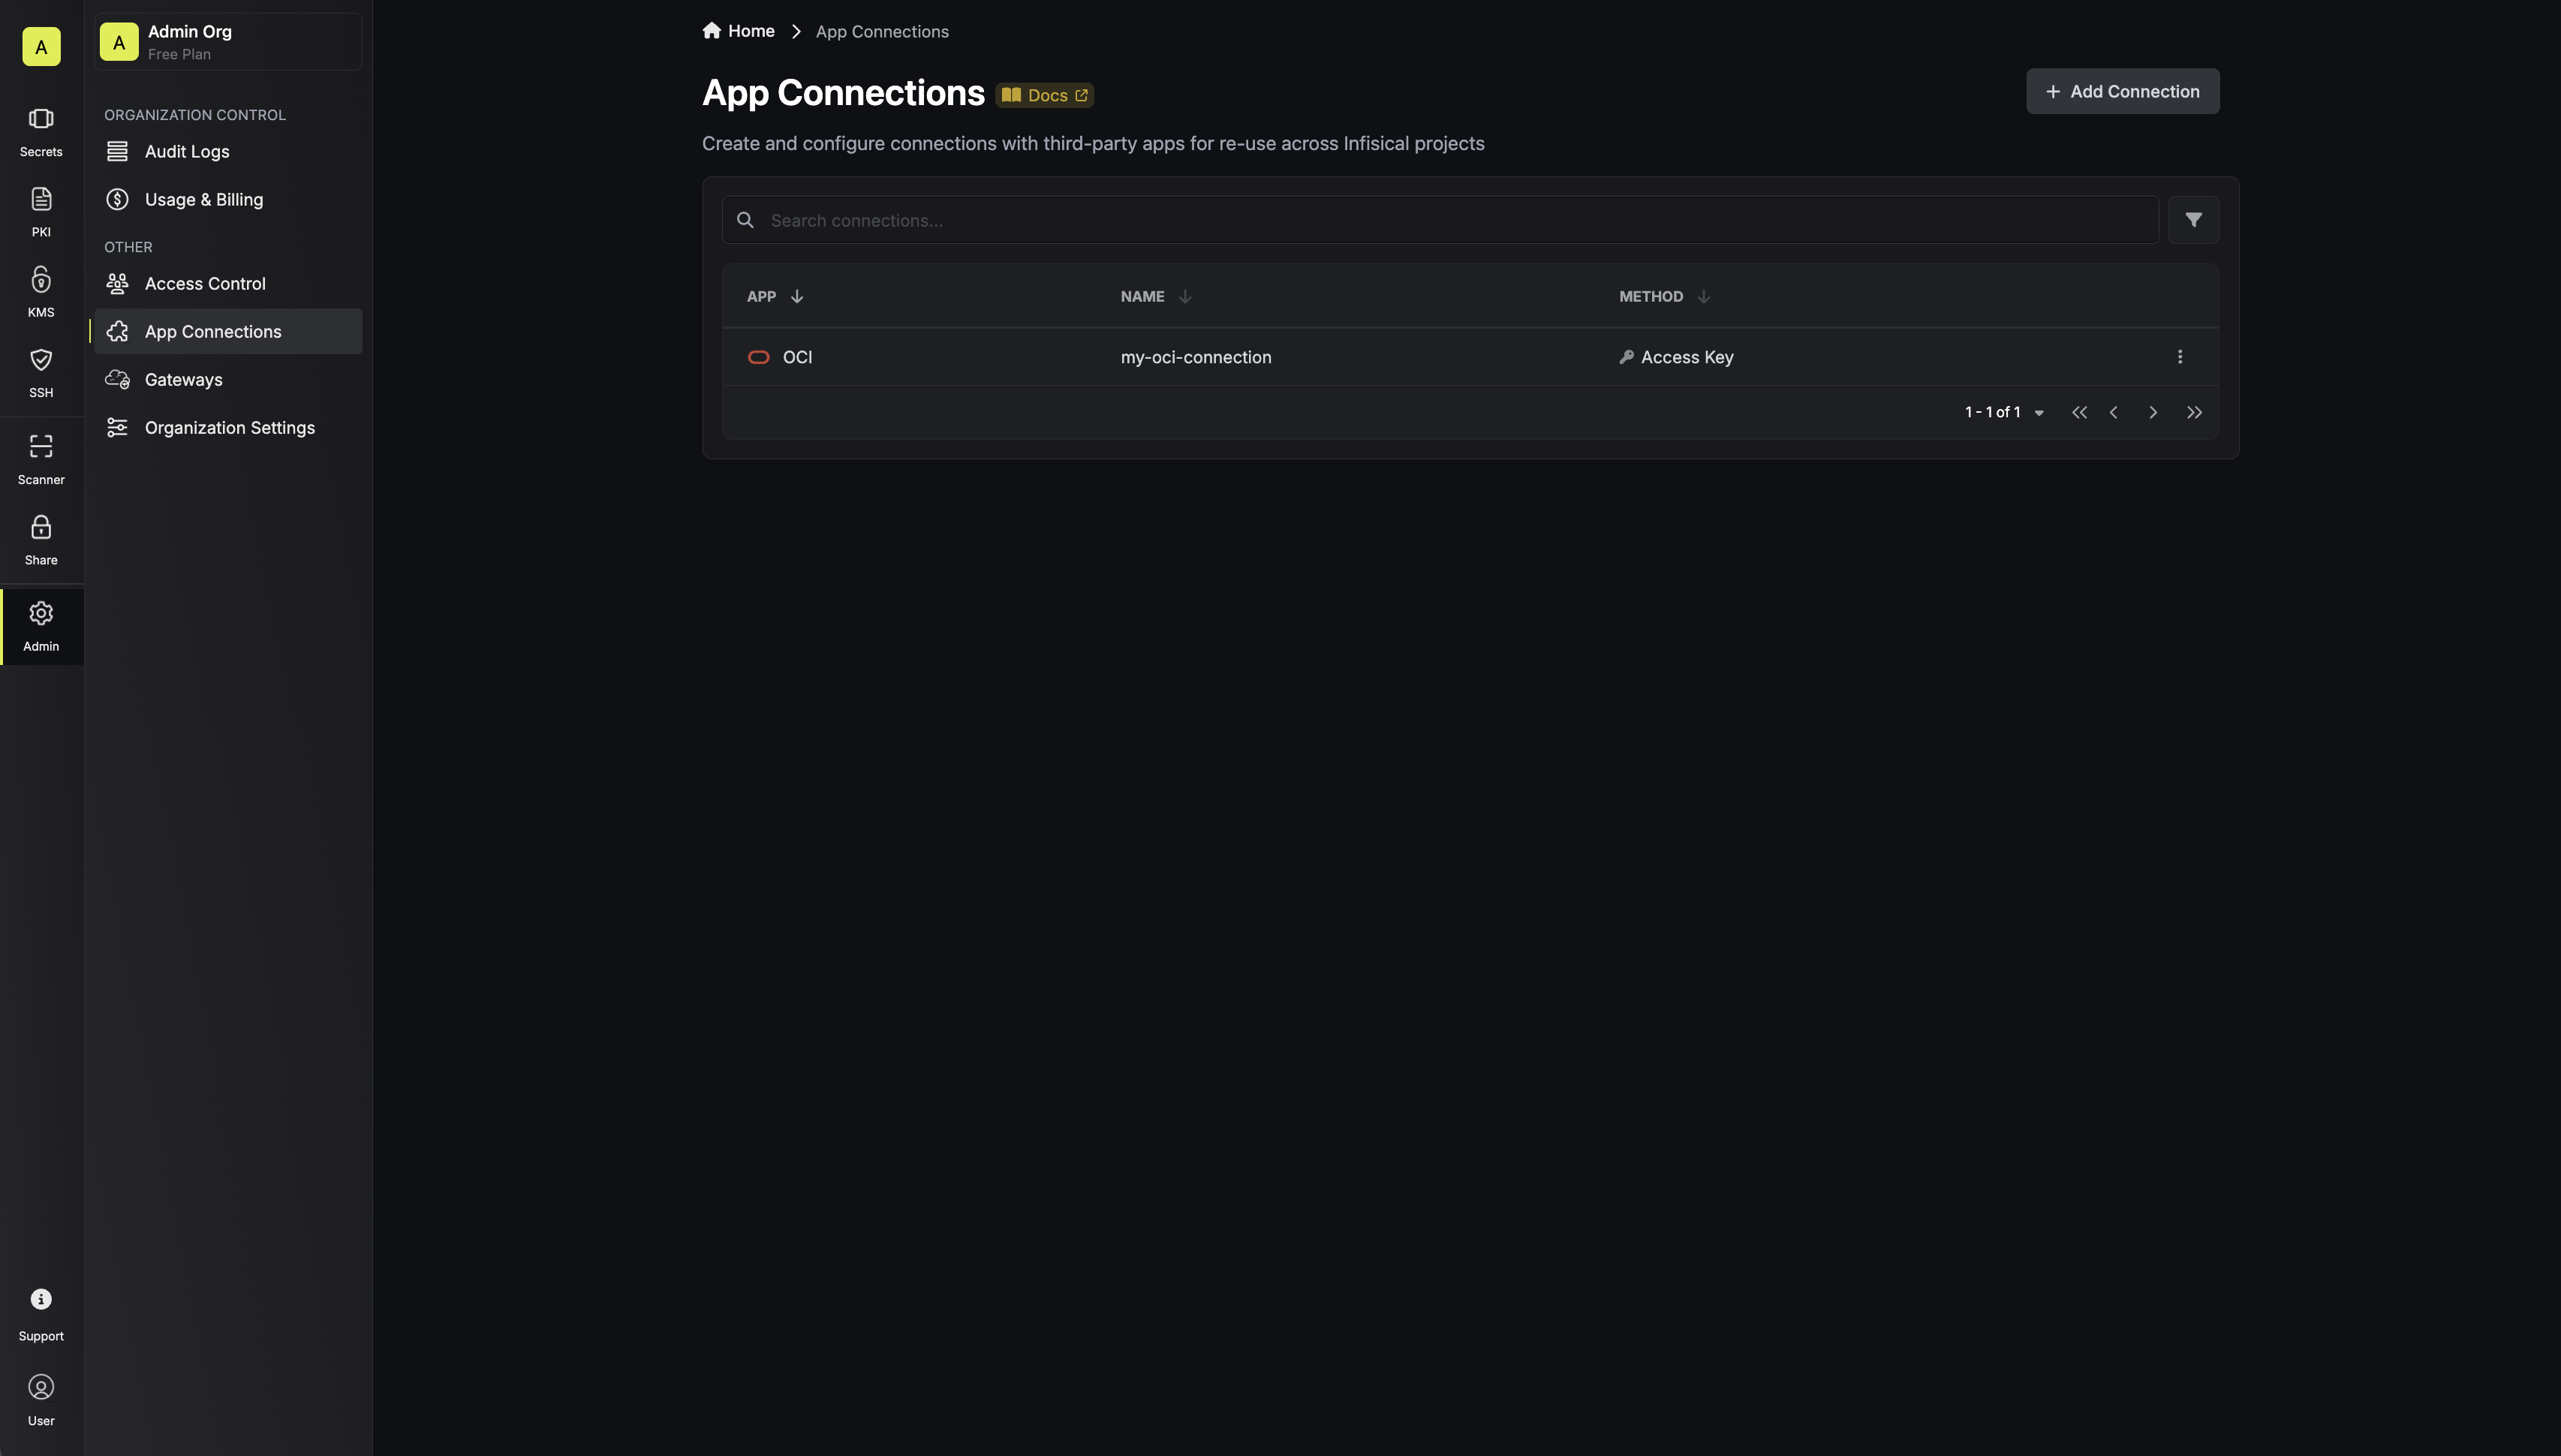
Navigate to App Connections
In your Infisical dashboard, navigate to the Integrations tab in the desired project, then select App Connections.
Select OCI Connection
Click the + Add Connection button and select the OCI Connection option from the available integrations.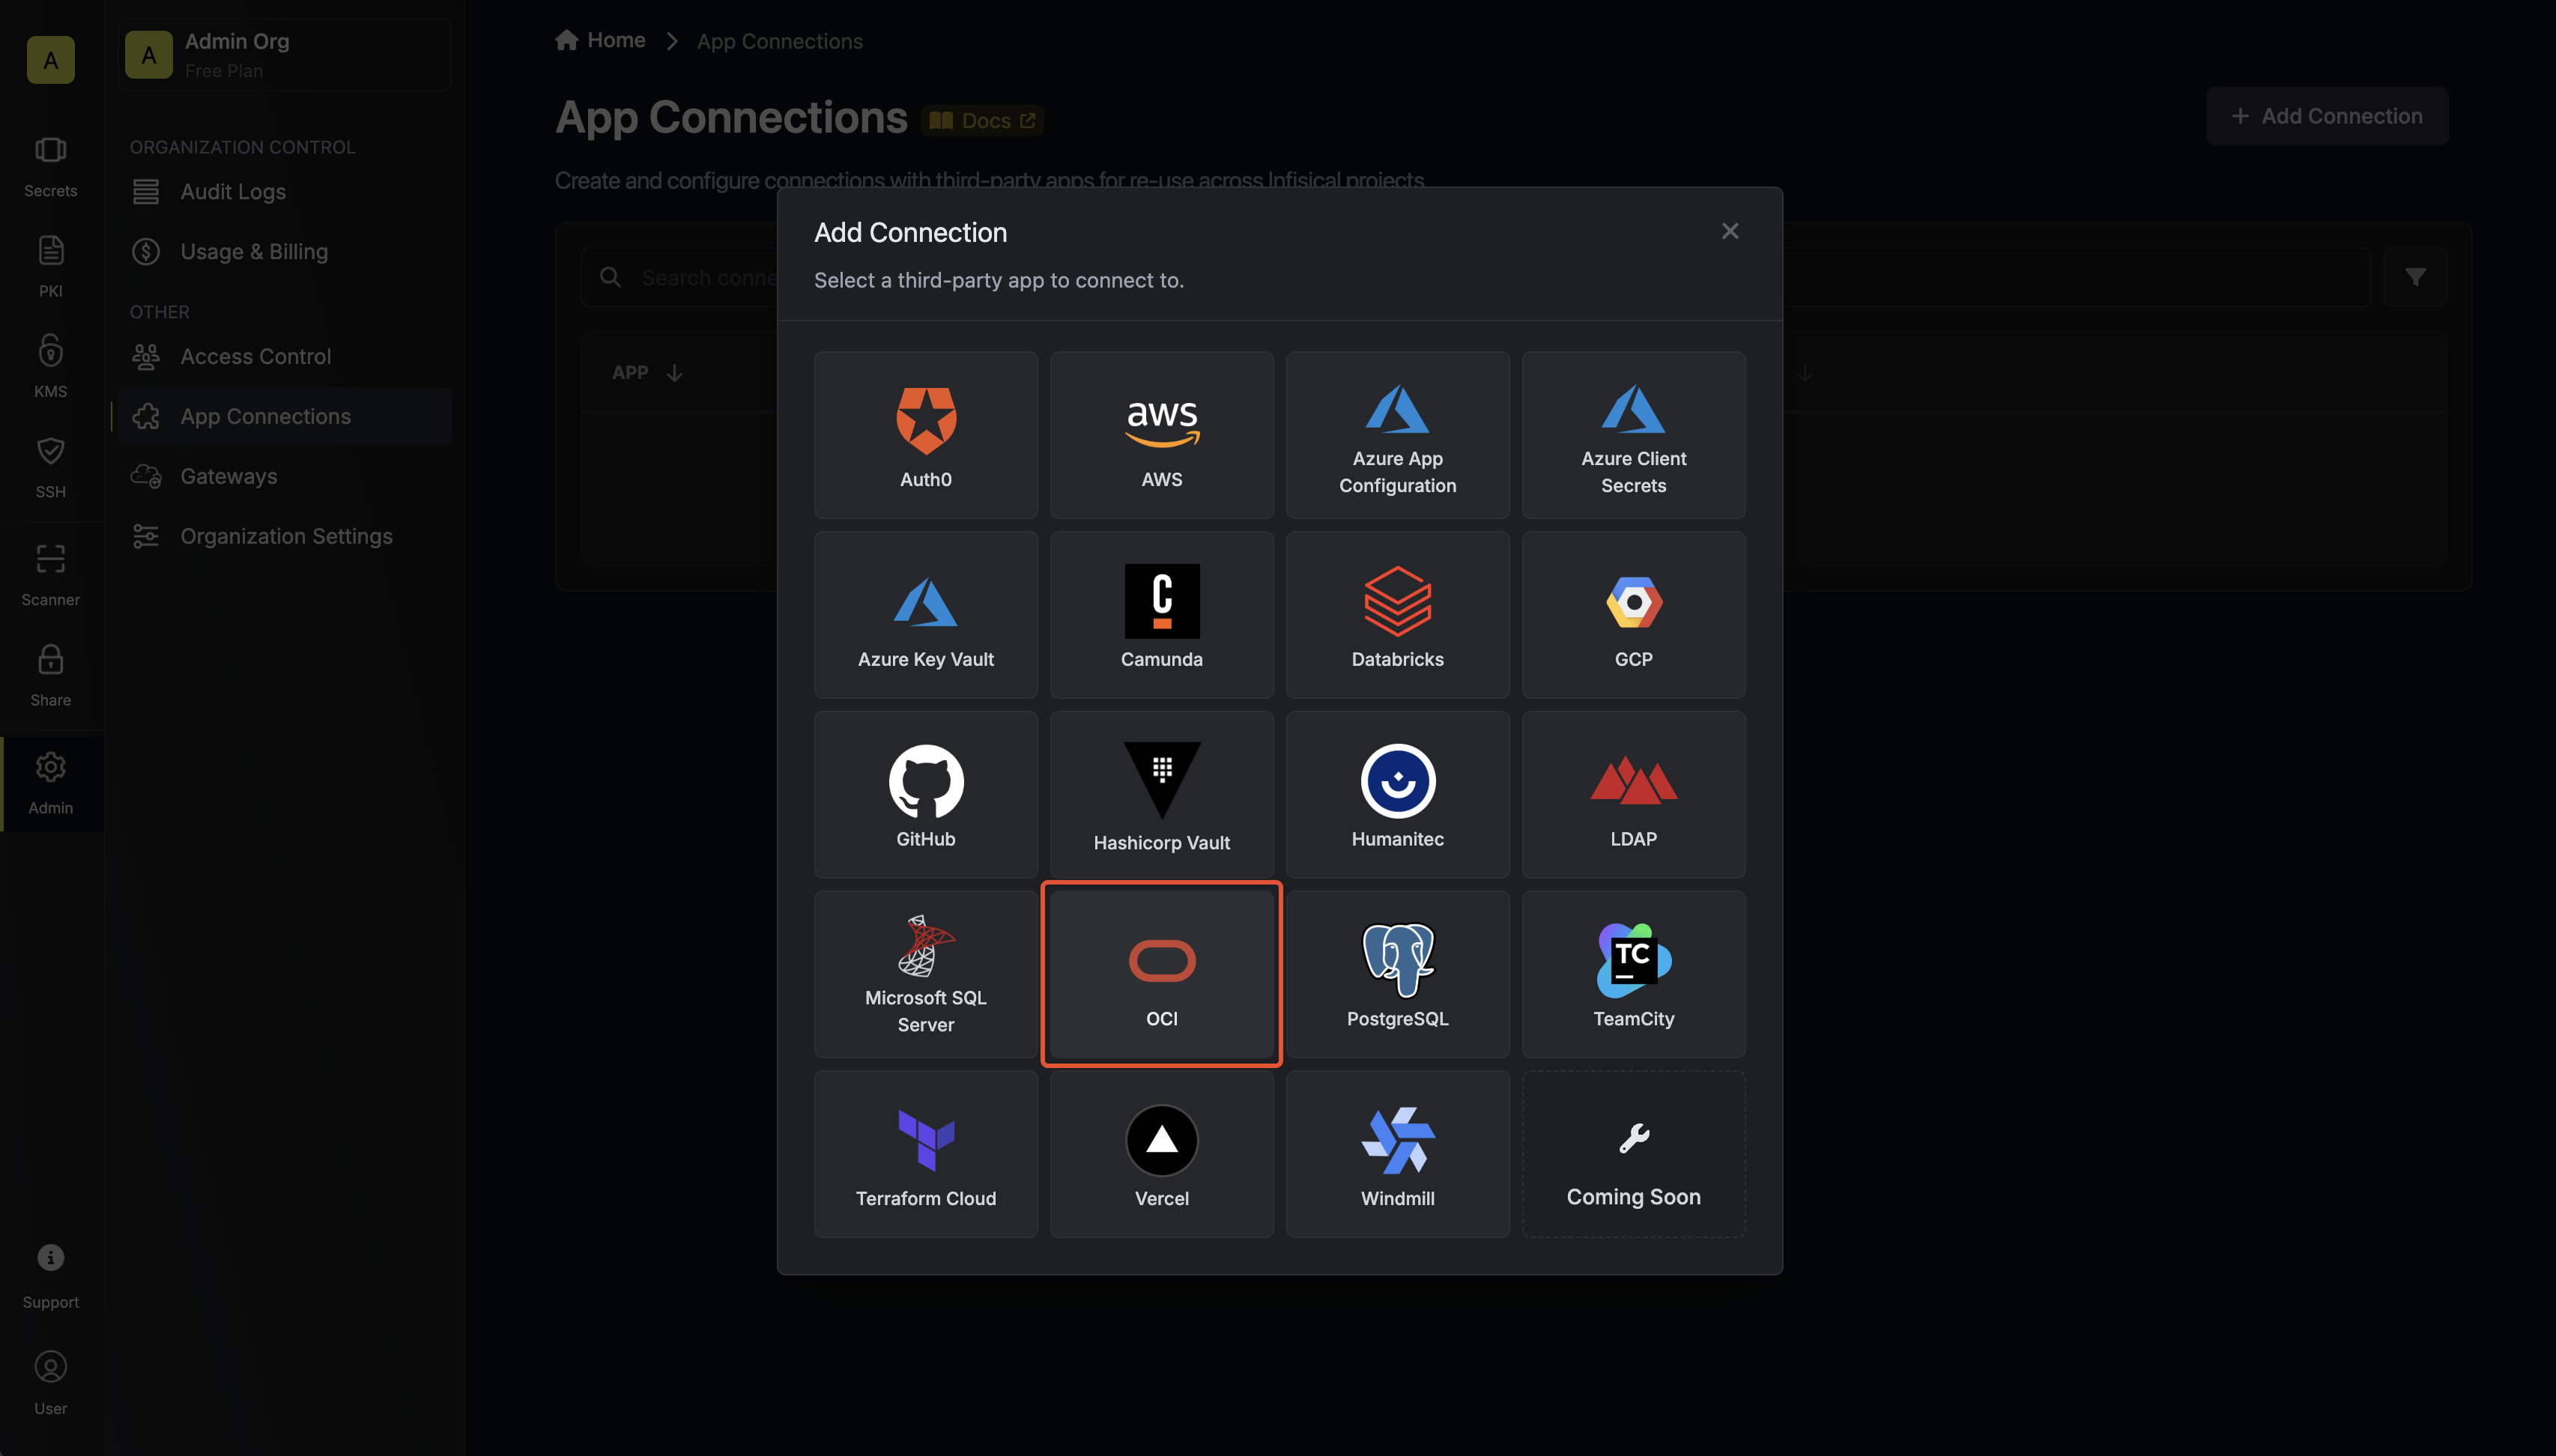
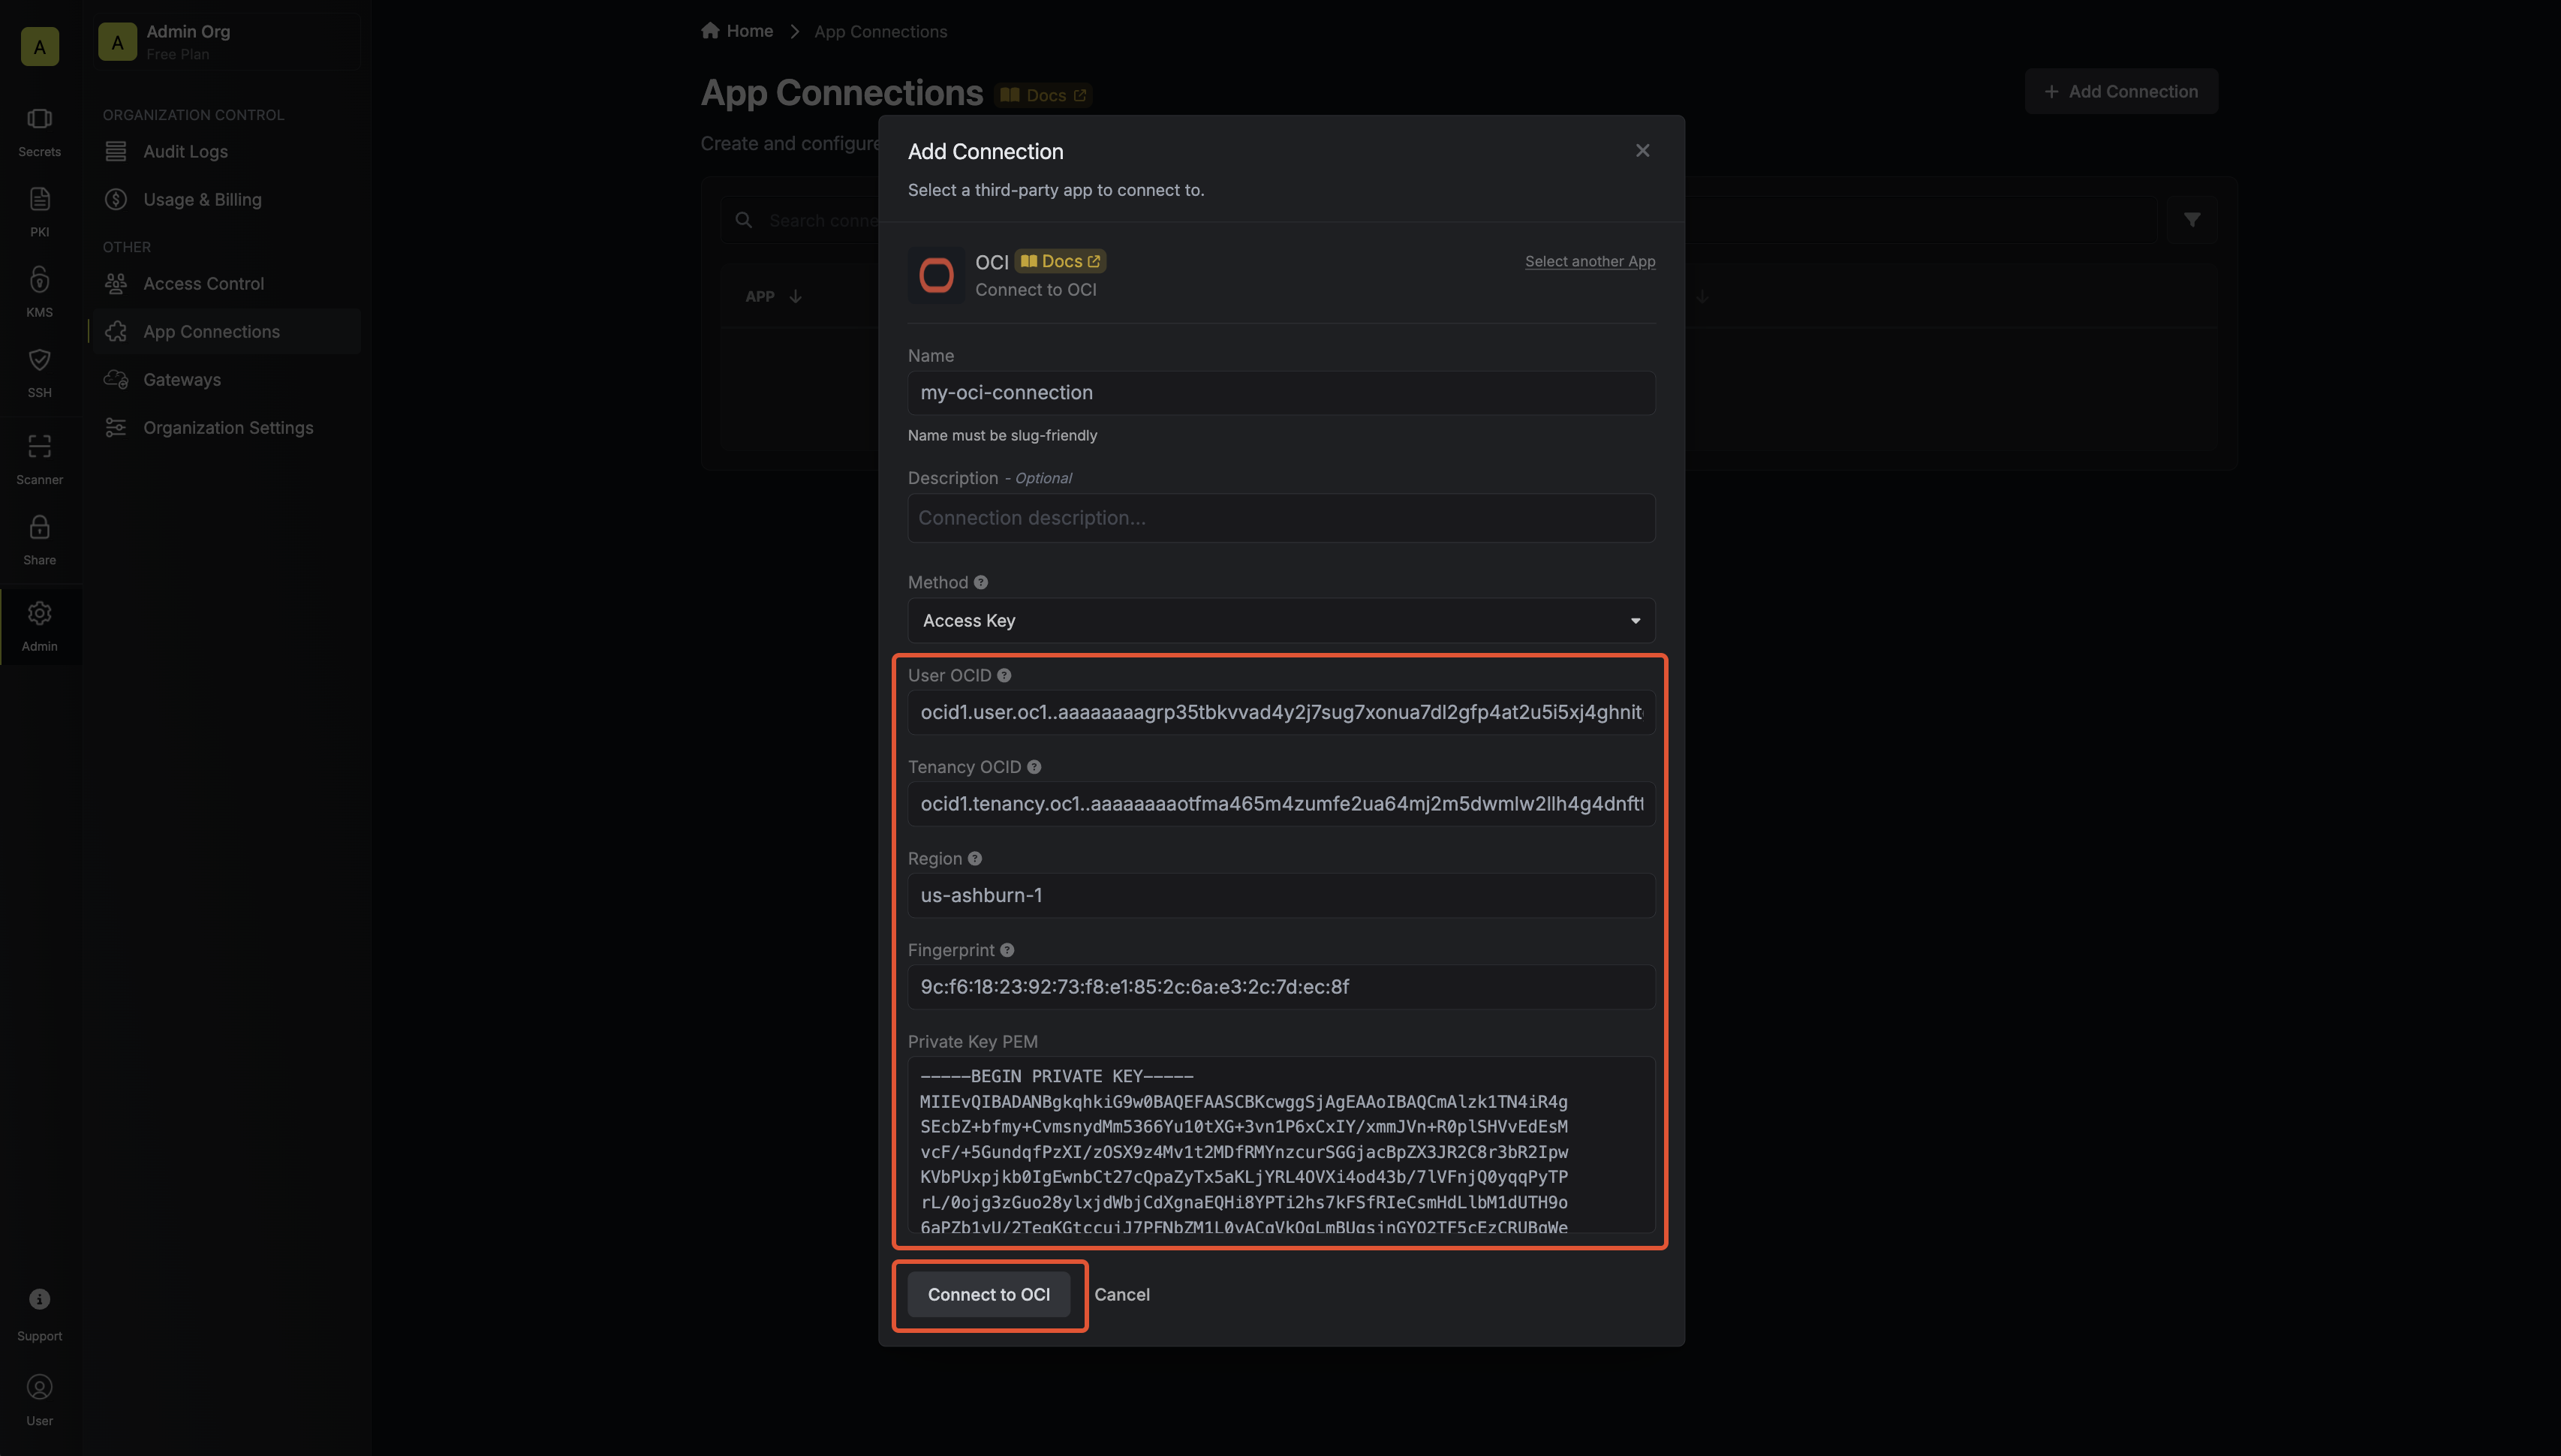
Fill out the OCI Connection Modal
Complete the OCI Connection form by entering:
- A descriptive name for the connection
- An optional description for future reference
- The User OCID from earlier steps
- The Tenancy OCID from earlier steps
- The Region from earlier steps
- The Fingerprint from earlier steps
-
The Private Key PEM from earlier steps